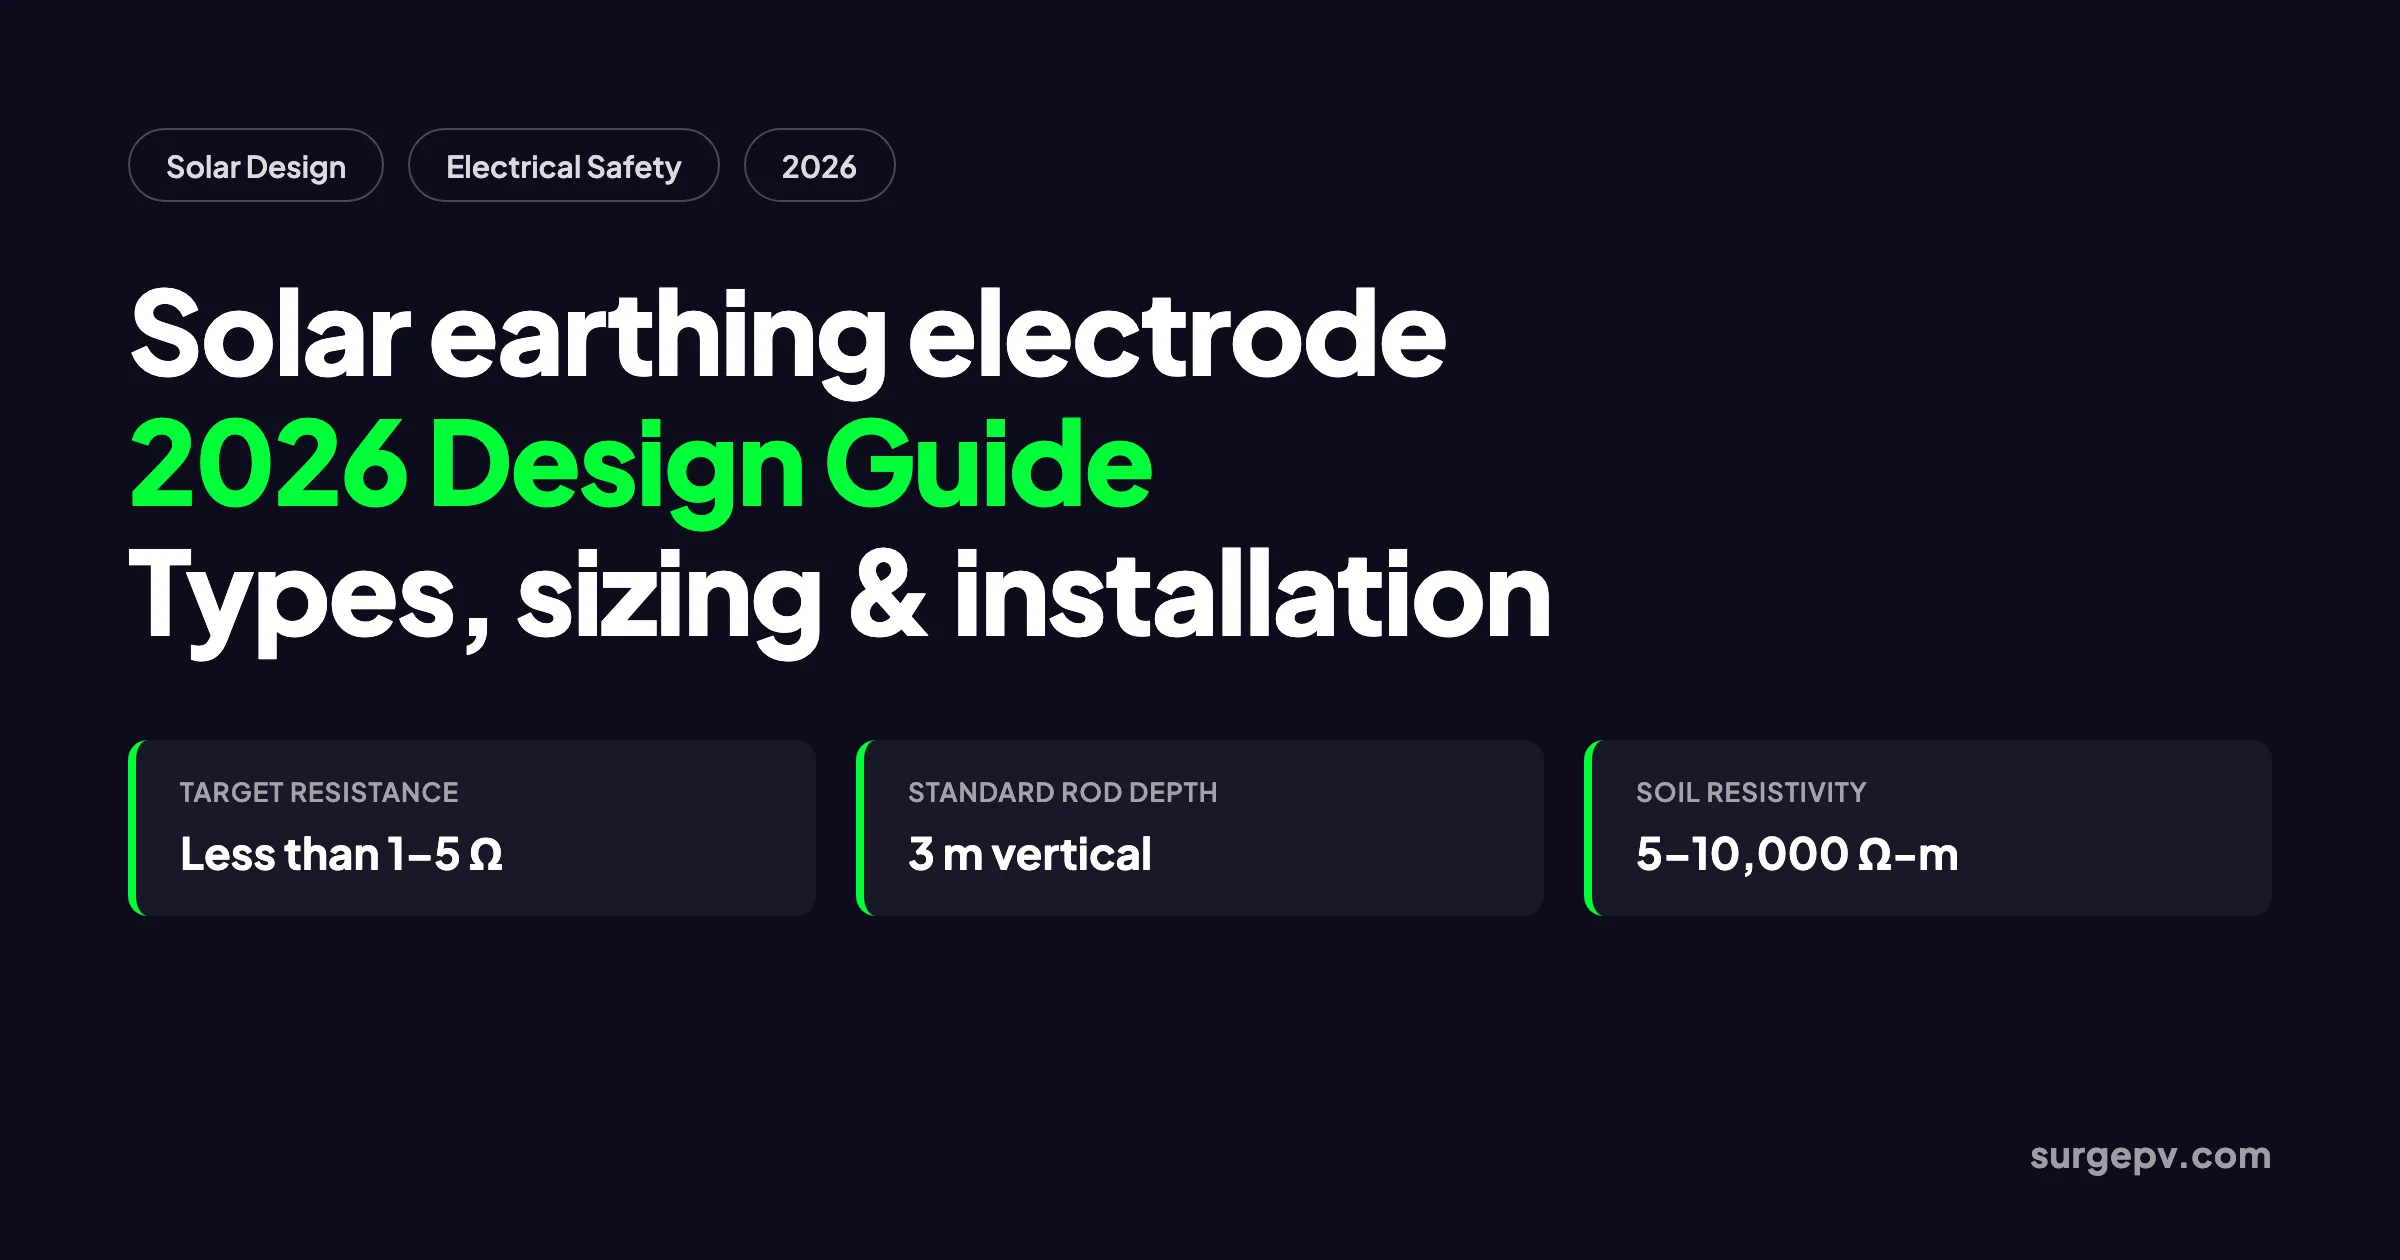
Earthing is the most frequently failed category in solar inspections. A NYSERDA NY-Sun inspection review found grounding deficiencies in 53% of inspected projects, making it the top cause of permit re-inspection and PTO delay. Much of that failure traces back to one component that is often underspecified: the solar earthing electrode. This electrode is the physical connection between the PV system and the earth. If it is the wrong type, the wrong size, or installed in the wrong soil conditions, the entire grounding system underperforms.
This guide focuses on the solar earthing electrode as a design object. You will learn how to select the electrode type and size it for local codes. You will also learn how to account for soil resistivity, space multiple electrodes, install them correctly, and test the result. We reference NEC 690.47 for U.S. projects, IS 3043 for Indian projects, and IEC 62561-7 for earth enhancement compounds. If you use solar design software to produce single-line diagrams, the rules below tell you exactly what your drawings must show.
In this guide:
- What a solar earthing electrode does and why it is not the same as the equipment grounding conductor
- The five electrode types used in solar projects and when each one fits
- Material selection: copper-bonded rods, GI pipes, plates, and chemical electrodes
- How soil resistivity drives electrode count, depth, and backfill decisions
- Sizing and spacing rules from NEC, IS 3043, and IEC 62561
- Installation practices that prevent corrosion and connection failures
- How to test earth resistance using the fall-of-potential method
- Common design mistakes that trigger AHJ rejections
- Where SurgePV calculators can speed up the electrical design workflow
Quick Answer
A solar earthing electrode is the metal rod, plate, pipe, or grid buried in the earth to create the system’s earth reference. For most rooftop projects, a copper-bonded steel rod connected to the premises grounding electrode system is sufficient. For ground-mount or large-scale plants, engineers design an electrode grid based on soil resistivity, fault current, and local code limits.
What a Solar Earthing Electrode Actually Does
A solar earthing electrode has one job: create a reliable electrical connection to the earth. It does not normally carry current. During a fault, a lightning strike, or a utility surge, it provides a path for energy to flow into the ground. This limits the voltage that appears on metal frames, inverter enclosures, and conduit. It also gives protective devices a stable reference so they can operate correctly.
The electrode is connected to the system through a grounding electrode conductor, or GEC. The GEC is sized per NEC Table 250.66 or 250.166, or per IS 3043 clause 17. It is not the same as the equipment grounding conductor, or EGC. The EGC bonds metal parts together and carries fault current back to the source to trip a breaker. The GEC connects that bonded system to the electrode. Confusing the two is a common cause of inspection failure.
Think of it this way: the EGC is the emergency exit path inside the building. The GEC is the door from the building to the ground. The earthing electrode is the ground itself. All three must be present and continuous, but they perform different jobs.
For a deeper explanation of the full grounding system, see our solar PV grounding system design guide.
Rooftop vs Ground-Mount Electrode Design
The electrode strategy changes with the installation type.
Rooftop residential and commercial systems usually rely on the building’s existing grounding electrode system. The array frames, racking, and inverter enclosure are bonded with an EGC, and the AC-side GEC connects the inverter to the service ground. A separate array electrode is not required by NEC 690.47 when the array is on or within 6 feet of the building. This keeps material and labor costs low. The design focus is on conductor sizing, bonding continuity, and proper termination.
Ground-mount systems often need a dedicated supplementary electrode. When the array is more than 6 feet from the building, NEC 690.47(D) requires a local grounding electrode at the array. The racking steel piles can qualify as the electrode if they meet NEC 250.52(A)(5). That means at least 8 feet of metal must be in contact with the earth. If the piles are shallower or the AHJ does not accept them, install a copper-bonded ground rod at the array. Bond that rod to the premises electrode system.
Utility-scale plants use a full earthing grid. The design typically starts with a soil resistivity survey, followed by a grid model using IEEE 80 or IS 3043 methods. The grid is buried at roughly 600 mm depth and connected to vertical rods at regular intervals. Touch and step voltages are checked across the site.
Types of Solar Earthing Electrodes
Solar projects use five main electrode configurations. The choice depends on system size, soil conditions, available space, and local code.
| Electrode Type | Typical Sizes | Best For | Code Reference |
|---|---|---|---|
| Copper-bonded steel rod | 14–17 mm diameter, 1.2–3 m length | Rooftop residential, commercial, most ground-mount | NEC 250.52(A)(5), IS 3043 Table 9 |
| Galvanized iron pipe | 38–50 mm diameter, 2.5–3 m length | Cost-sensitive Indian rooftop and small commercial | IS 3043, Indian Electricity Rules |
| Earth plate | 600×600×3 mm GI or 600×600×2 mm Cu | Rocky soil where driving rods is difficult | IS 3043, BS 7430 |
| Grounding grid / earth mat | GI or copper strips at 600 mm depth | Utility-scale solar plants and substations | IEEE 80, IS 3043 Clause 27 |
| Chemical earthing electrode | Rod surrounded by conductive backfill | High-resistivity soil, seasonal dryness | IEC 62561-7, IS 3043 |
Copper-bonded steel rods are the global default. They combine the strength of a steel core with the conductivity and corrosion resistance of a copper coating. A 250-micron copper bond is common for solar work and is recognized by UL 467.
GI pipe electrodes are widely used in India because they are low cost and familiar to local contractors. They require periodic maintenance in aggressive soils and may need salt-and-charcoal treatment if soil resistivity is high.
Earth plates are an option when the topsoil is rocky and rods cannot be driven. They have a larger surface area but need more excavation and backfill.
Grounding grids spread current across a wide area. Large solar plants often specify one earth pit per 1 MW of AC capacity, connected by a buried earth mat, according to common Indian tender language.
Chemical electrodes are maintenance-free solutions for sites with dry sand, laterite, or seasonal drought. The backfill compound holds moisture and lowers contact resistance.
Material Selection: Copper-Bonded, GI, and Chemical Electrodes
Material choice affects conductivity, corrosion life, installation labor, and total cost. The table below compares the three most common solar options.
| Property | Copper-Bonded Rod | GI Pipe / Rod | Chemical Electrode |
|---|---|---|---|
| Conductivity | High | Moderate | High with backfill |
| Corrosion resistance | Excellent | Good in neutral soil; poor in aggressive soil | Excellent |
| Typical life | 30+ years | 10–15 years depending on soil | 15–25 years |
| Maintenance | Low | Higher; may need watering / re-treatment | Very low |
| Install labor | Low; can be driven mechanically | Moderate; needs pit and backfill | Moderate; needs pit and compound |
| Cost | Higher upfront | Lower upfront | Mid-range |
| Best soil | Most soils, especially corrosive | Normal, moist soils | High-resistivity or dry soils |
Copper-bonded rods meet UL 467 and IEC 62561-2. A typical solar specification calls for a 14 mm or 17 mm diameter rod, 3 m long, with a 250-micron copper coating. The steel core provides tensile strength for driving, while the copper layer gives low resistance and long life.
GI electrodes are specified in many Indian tenders because they are economical. The galvanizing layer protects the steel, but it can degrade faster in acidic or alkaline soils. If you choose GI, check the coating thickness. Common Indian solar specifications call for 80 to 85 microns of galvanization on earth strips.
Chemical electrodes use a backfill compound that conforms to IEC 62561-7. The compound should have resistivity below 0.2 ohm-m, fixed carbon content above 95%, and low solubility so it does not wash away. These electrodes are not a magic fix; they still need proper depth, spacing, and connection.
A 50 MW solar project in Jharkhand specified both MS rods and copper-bonded rods in its tender. It called for 40 mm MS rods for general earthing and 14/17 mm copper-bonded rods for areas requiring lower resistance. This mixed approach is common in Indian EPC contracts.
Soil Resistivity: The Hidden Design Driver
Soil resistivity is the single most important input for earthing design. It is measured in ohm-meters and tells you how easily current moves through the earth. A rod driven into 50 ohm-m clay will produce a much lower earth resistance than the same rod driven into 2,000 ohm-m dry sand.
Typical values are:
| Soil Type | Resistivity Range (ohm-m) | Design Approach |
|---|---|---|
| Wet clay / garden soil | 5–100 | Standard rods, minimal backfill |
| Sandy clay / moist gravel | 100–500 | Standard rods plus earth enhancement compound |
| Dry sand / laterite | 500–2,000 | Deep rods, chemical electrodes, or multiple parallel rods |
| Rock / granite | 1,000–10,000+ | Plates, grounding grids, deep wells, or specialist design |
These ranges are industry-observed values based on soil resistivity tables in electrical installation references.
Measure soil resistivity before design. The Wenner four-pin method is the most common field test. Four electrodes are placed in a straight line at equal spacing. A test current is injected through the outer pins, and the voltage is measured between the inner pins. The apparent resistivity is calculated from the spacing and the measured resistance.
The Wenner formula is ρ = 2πaR, where a is the electrode spacing in meters and R is the measured resistance in ohms. By increasing the spacing, you sample deeper soil layers. For large plants, take readings at multiple locations and depths because resistivity can vary across the site.
Design for the worst-case season. Soil resistivity is lowest during the rainy season and highest during drought. An electrode that reads 2 ohms in July may read 8 ohms in April. If your contract requires less than 1 ohm year-round, design using dry-season measurements. Some projects specify a correction factor, such as multiplying wet-season readings by 1.5 to 2.0, but direct dry-season measurement is more reliable.
Sizing and Spacing Rules in 2026
Electrode sizing has three dimensions: length, diameter, and number. Increasing length usually lowers resistance more than increasing diameter. Adding parallel rods helps, but only if they are spaced correctly.
Rod Length and Diameter
IS 3043 specifies minimum rod dimensions:
| Material | Minimum Diameter | Minimum Length |
|---|---|---|
| Copper rod | 12.5 mm | 2.5 m |
| GI rod | 16 mm | 2.5 m |
| GI pipe | 38 mm | 2.5 m |
NEC 250.52(A)(5) recognizes rods that are at least 2.44 m (8 feet) long and 15.87 mm (5/8 inch) in diameter. A 3 m rod is common in international solar practice because it reaches more stable soil moisture.
Spacing Between Parallel Electrodes
When one rod cannot achieve the target resistance, install multiple rods in parallel. IS 3043 recommends spacing equal to at least twice the driven length of the rod. For a 3 m rod, the center-to-center spacing should be at least 6 m. If rods are too close, their electrical fields overlap and the second rod adds far less benefit than expected.
Earth Resistance Targets
| Installation Type | Common Target | Source |
|---|---|---|
| Large solar plant / substation | Less than 1 ohm | Indian solar tenders, IS 3043 practice |
| Small rooftop solar | Up to 5 ohms | IS 3043, state solar agency specs |
| Lightning protection electrode | Less than 10 ohms | IS/IEC 62305 practice |
NEC does not give a single maximum earth resistance number for residential systems. Instead, it requires the grounding electrode system to be installed per Article 250. Some U.S. utilities or AHJs add a local requirement, such as 25 ohms for a single rod, but this is not universal.
Conductor Sizing
The earthing conductor that connects equipment to the electrode must carry the fault current without excessive heating. IS 3043 gives the formula:
A = (I × √t) / k
In this formula, A is the cross-sectional area in mm². I is the fault current in amperes. t is the fault duration in seconds. k is a material factor. For copper, k is 205. For galvanized steel, k is 80. A common minimum for GI strip in Indian solar work is 25 mm × 6 mm.
Installation Best Practices
A correct design can fail if the installation is sloppy. Follow these practices on site.
Drive vertically when possible. A vertical rod reaches lower, more stable soil layers. In rocky ground, rods can be driven at an angle not exceeding 45 degrees from vertical, or installed in a trench.
Bury below the permanent moisture level. IS 3043 states that electrodes should be embedded below the permanent moisture level. In dry climates, this may mean 3 m or more.
Use earth enhancement compound in high-resistivity soil. Fill the pit around the electrode with a conductive backfill. The compound should conform to IEC 62561-7. A common minimum quantity is 25 kg per pit in Indian solar tenders.
Make corrosion-resistant connections. Use bolted clamps, compression connectors, or exothermic welds. Avoid simple wire wraps or generic bolts. The connection point is the most likely failure location over time.
Install inspection pits. Every electrode should have an accessible inspection chamber with a removable cover. This allows future testing without excavation.
Keep lightning earth separate from power earth where required. Some standards require a minimum separation between lightning protection earth pits and power system earth pits. DEWA regulations and IEC 62305 practice are examples. See our solar lightning protection guide for SPD and air-terminal design. Verify the rule for your jurisdiction.
Bond all electrodes together. If the PV array has its own supplementary electrode, bond it to the premises electrode system. NEC 250.58 requires separate grounding electrodes to be bonded together to limit voltage differences.
Testing and Commissioning
Earth resistance testing is not optional. It is the only way to prove the design works in the actual soil.
Fall-of-potential method. This is the standard test for a single electrode. Connect the tester to the electrode under test. Drive a current probe at a distance roughly 10 times the electrode length. Place a potential probe at distances of 20%, 40%, 60%, and 80% of the current probe distance. Plot the readings. The flat portion of the curve gives the true earth resistance.
For a 3 m rod, place the current probe about 30 m away. Take potential probe readings every 2 m. If the curve shows a clear plateau, the plateau value is the electrode resistance. If there is no plateau, the soil is non-uniform or the probes are too close. Move the current probe farther out and repeat.
Three-pole testers automate this process and are common on solar sites. They give a direct readout but still require correct probe placement.
Clamp-on testers are useful for checking continuity and bonding. They can give misleading results if there are multiple parallel earth paths. They measure the resistance of the loop formed by the electrode and the rest of the grounded network. If the electrode is bonded to a large grid or utility neutral, the clamp-on tester may show a deceptively low value. That reading is not the true electrode resistance.
Record the following at each electrode:
- Electrode identification number and location
- Measured earth resistance in ohms
- Soil condition at time of test
- Date, time, and tester serial number
- Ambient temperature and recent rainfall
Test again after six months or one year to capture seasonal variation. Many Indian O&M contracts require annual earth resistance checks.
Common Mistakes and How to Avoid Them
Assuming one rod is always enough. A single 3 m rod in dry sand can easily read above 10 ohms. Design based on measured soil resistivity, not assumption.
Installing rods too close together. Two rods spaced 1 m apart act almost like one rod. Follow the 2× length rule.
Using untreated GI in corrosive soil. In coastal or chemically aggressive areas, GI corrodes faster than copper-bonded steel. Specify the right material for the soil.
Skipping the inspection pit. If you cannot access the electrode later, you cannot test or maintain it.
Confusing the EGC and GEC. The EGC bonds equipment. The GEC connects to the electrode. They terminate at the same bus but serve different functions.
Testing only in the rainy season. A passing reading in July may fail in April. Test during the driest expected condition.
Ignoring local amendments. Some states and AHJs add their own earth resistance targets or electrode types. Always check the local checklist before finalizing the design.
When to Use Design Automation
Earthing electrode design is fundamentally a field-and-soil problem. You cannot automate the soil resistivity measurement. But you can automate the electrical documentation that surrounds it.
Use solar design software to produce a single-line diagram that clearly shows the GEC routing, electrode locations, and bonding points. This reduces the chance that an inspector rejects the drawing because the earthing path is unclear.
Use a wire size calculator to size the earthing conductor and EGC per the local code. Getting the conductor cross-section wrong is one of the easiest ways to fail inspection.
Use a system size calculator early in the project to estimate capacity, which feeds into fault-current calculations and electrode count for large plants.
For complex engineering deliverables or PE-stamped permit packages, a solar design and engineering consultancy can provide detailed drawings and calculations that complement your design tool output.
Conclusion
A solar earthing electrode is not a commodity item. Its type, material, depth, spacing, and backfill must match the soil and the code. The design process is simple in principle: measure the soil, pick the electrode, size the conductor, install with care, and test. In practice, most failures come from skipping one of those steps.
Three actions to take next:
- Add soil resistivity testing to your site survey checklist before any electrode design is finalized.
- Specify electrode material and spacing in your drawings so the installer cannot substitute a cheaper, unsuitable rod.
- Record earth resistance at commissioning and build an annual re-test schedule into the O&M plan.
Frequently Asked Questions
What is a solar earthing electrode?
A solar earthing electrode is a metal conductor placed in the earth to provide a low-resistance path for fault currents, lightning surges, and leakage currents. It forms the physical earth reference for a PV system and is connected to the system through a grounding electrode conductor.
What types of earthing electrodes are used in solar projects?
Common types include copper-bonded steel rods, galvanized iron pipes, earth plates, grounding grids or earth mats, and chemical earthing electrodes. Rod electrodes are most common for rooftop and small commercial systems; grids are used for utility-scale plants.
What is the maximum allowable earth resistance for a solar plant?
It depends on the standard and plant size. Indian solar tenders typically require less than 1 ohm for large plants and up to 5 ohms for small rooftop systems. NEC does not set a single numeric limit but requires the grounding electrode system to be effective for the fault-current path.
How does soil resistivity affect earthing electrode design?
Soil resistivity is the primary factor that determines how easily current flows into the earth. Dry sand or rock can exceed 1,000 ohm-m and needs deep rods, chemical backfill, or grids. Wet clay may be under 100 ohm-m and works with standard rods.
Can I use the building’s existing ground rod for a rooftop solar array?
Yes, in most cases. NEC 690.47 permits connection to the premises grounding electrode system for roof-mounted arrays. A separate array electrode is required only when the array is more than 6 feet from the building electrode, such as ground-mount systems.
How often should solar earthing electrodes be tested?
Test at commissioning and then annually or after major site changes. IS 3043 recommends periodic testing, and many Indian EPC contracts require six-monthly or yearly earth resistance measurements. Seasonal variation in soil moisture can change readings significantly.
What is the difference between earthing and grounding in solar?
They describe the same safety function. Earthing is the British and Indian term; grounding is the North American term. Both mean connecting exposed metal parts and the electrical system to earth through an electrode.
What is a chemical earthing electrode?
A chemical earthing electrode uses a conductive backfill compound such as bentonite, graphite, or carbon-based material around the rod. The compound lowers contact resistance, retains moisture, and improves performance in high-resistivity or seasonal soils.
Where this fits
This article is part of SurgePV's Solar Design hub, which works through the topic from first principles to the decisions a project team actually has to make.