A solar array is only as safe as the insulation around its conductors. One nicked DC cable, one pinched connector, or one moisture-filled junction box can create a ground fault that trips inverters, starts fires, or endangers technicians. Insulation resistance testing is the single most effective way to catch these defects before the system is energized.
This guide is written for designers, installers, and commissioning engineers who need to specify, perform, and document insulation resistance tests correctly. It follows IEC 62446-1 for grid-connected PV systems and aligns with field practices used across residential, commercial, and utility-scale projects. We will explain the physics, the acceptance limits, the test procedure, common failure modes, and how to record results in a handover package that matches the system shown in your solar proposal.
Design teams that use SurgePV can generate single-line diagrams, string schedules, and commissioning test sheets directly from the design model. That reduces the transcription errors that turn a passing megger reading into a failed inspection.
In this guide:
- What solar insulation resistance is and why it matters
- IEC 62446-1 acceptance limits and test voltages
- Megohmmeter selection and guard-terminal use
- A step-by-step field test procedure
- Two test methods: shorted poles vs. separate poles
- Environmental factors that affect readings
- How to isolate and repair common faults
- Insulation resistance in O&M and troubleshooting
- Design and installation choices that make passing easier
- Documentation and reporting best practices
Quick Answer
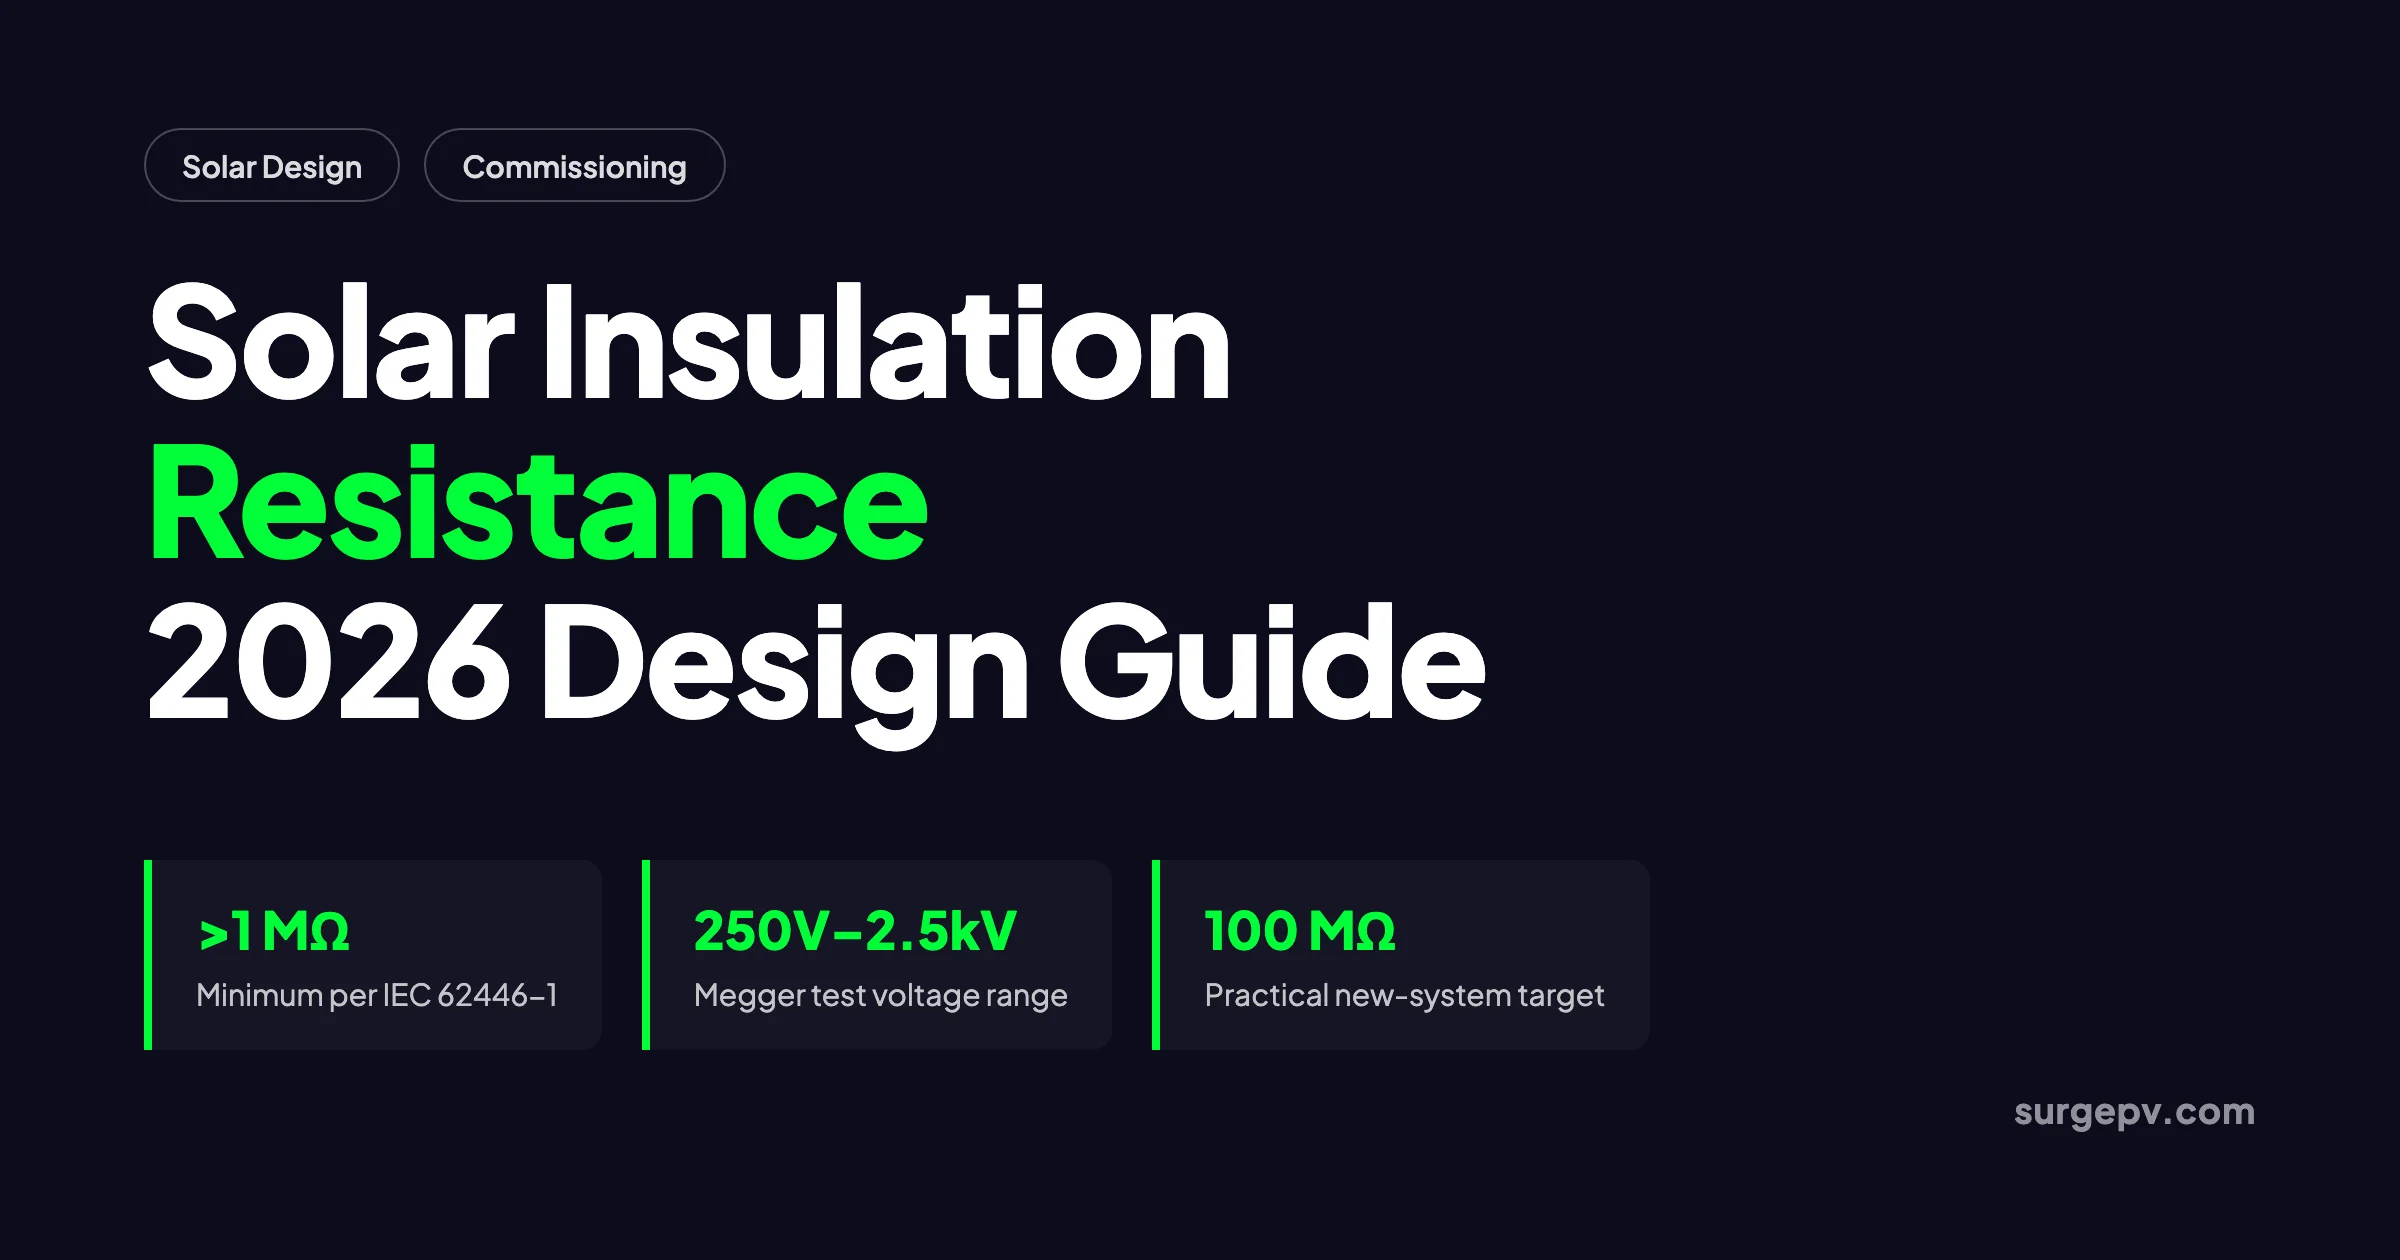
Solar insulation resistance is the electrical resistance between live DC conductors and earth in a PV system. IEC 62446-1 requires a minimum of 1 MΩ for systems above 120 V DC. A megohmmeter applies a controlled DC test voltage and calculates resistance from leakage current.
What Is Solar Insulation Resistance?
Insulation resistance is a measure of how well the insulation around a current-carrying conductor resists leakage current to ground. In a PV system, the conductors are the DC cables that run from module junction boxes through string harnesses, homerun cables, and combiner boxes to the inverter. The ground reference is any bonded metal part of the array: module frames, racking, equipment grounding conductors, and the inverter enclosure.
A megohmmeter, often called a megger, performs the test by applying a high DC voltage between the conductor and ground. The instrument measures the tiny current that flows through or across the insulation and calculates resistance using Ohm’s Law. Good insulation gives a high resistance reading, typically in the hundreds of megohms or gigaohms. Damaged insulation gives a low reading because leakage current has an easier path to ground. Mayfield Energy explains this concept with field examples showing how a guard wire can separate surface contamination from true insulation damage.
No insulation is perfect. Even a brand-new system will show some leakage current. The purpose of the test is not to find zero leakage; it is to verify that leakage is low enough to meet safety and performance standards. The international benchmark for this measurement is IEC 62446-1, which defines the minimum requirements for system documentation, commissioning tests, and inspection of grid-connected PV systems.
Solar insulation resistance testing is also a diagnostic tool. A sudden drop from a baseline of 500 MΩ to 5 MΩ is an early warning of moisture ingress, cable abrasion, or connector degradation. Catching the trend before the value falls below 1 MΩ prevents ground faults and unplanned downtime.
Why Insulation Resistance Matters in PV Systems
PV arrays operate at high DC voltages for decades in harsh environments. A residential string can reach 400 V DC. Commercial systems commonly run at 1000 V or 1500 V DC. At those voltages, even a small insulation defect can drive enough current through a grounded frame to create a shock hazard or ignite nearby material.
The consequences of poor insulation include:
- Ground faults. A low-resistance path from a live conductor to ground trips ground fault protection, shutting down the inverter and reducing production.
- Fire risk. Arcing at a damaged conductor can ignite cable insulation, rooftop membranes, or debris in conduit.
- Equipment damage. Surge protective devices, inverters, and monitoring electronics can be damaged if insulation tests are performed while they are connected.
- Warranty disputes. Module and inverter manufacturers may deny warranty claims if commissioning records show the system was energized with substandard insulation values.
- Failed inspections. Authority having jurisdiction (AHJ) inspectors and utility interconnection engineers increasingly ask for documented insulation resistance results before sign-off.
A rigorous insulation resistance test is therefore not a paperwork exercise. It is the last electrical safety check before the array becomes an energized power plant. Installers who skip it or perform it incorrectly are betting that no hidden defect exists. The cost of losing that bet can exceed the entire project’s profit margin.
IEC 62446-1 Requirements and Acceptance Criteria
IEC 62446-1 is the international standard that defines the minimum commissioning tests for grid-connected PV systems. It covers visual inspection, continuity of protective earth, polarity verification, open-circuit voltage, short-circuit current, and insulation resistance.
Minimum Insulation Resistance Values
The standard sets two main thresholds based on system voltage. System voltage for this purpose is the array open-circuit voltage, not the inverter AC voltage.
| System DC Voltage | Minimum Insulation Resistance | Test Voltage (IEC 62446-1) |
|---|---|---|
| Under 120 V DC | 0.5 MΩ | 250 V DC |
| 120 V DC to 240 V DC | 1.0 MΩ | 500 V DC |
| Above 500 V DC | 1.0 MΩ | 1000 V DC |
For modern 1500 V DC systems, the test voltage has been a point of discussion. IEC 62446-1:2016 specifies 1000 V DC for systems above 500 V. Some industry guides and the 2023 consolidation clarify that systems above 1000 V DC should use a 2500 V DC test voltage. A detailed voltage-selection table is available in the Transcat electrical testing standards guide. The safest approach is to follow the module manufacturer datasheet and local grid connection rules. Never apply a test voltage higher than the module maximum system voltage.
Practical Industry Thresholds
The 1 MΩ IEC minimum is a legal pass, but many owners, EPCs, and financiers expect much more from new systems. The ANSI/NETA ATS maintenance standard has long used a rule of approximately 1 MΩ per 1000 V of operating voltage, with a 1 MΩ minimum. On that basis, a 1500 V system would ideally show at least 1.5 MΩ, and a 1000 V system at least 1 MΩ.
In practice, a well-installed new system typically reads above 100 MΩ. Values between 1 MΩ and 100 MΩ are technically passing but should be flagged for retesting and monitoring. Values below 1 MΩ are a fail and must be corrected before energization.
Where the Standard Applies
IEC 62446-1 applies to the entire DC side of the PV system: modules, DC source circuits, DC output circuits, and conductors within combiner boxes. It does not replace local electrical codes such as NEC Article 690 in the United States or BS 7671 in the United Kingdom. It works alongside them. In the U.S., NEC Article 690 addresses installation safety, while IEC 62446-1 provides the commissioning test sequence and documentation format. For a broader view of commissioning, see our solar system commissioning protocol.
Test Equipment: Megohmmeters and Guard Terminals
A megohmmeter is a high-range ohmmeter with a built-in DC voltage source. Modern digital units are battery-powered and can output test voltages from 250 V to 2500 V or higher. The display shows resistance in megohms (MΩ) or gigohms (GΩ).
Selecting a Megohmmeter for PV Work
For most solar projects, choose an instrument that meets these minimum requirements:
- Test voltage settings of 250 V, 500 V, 1000 V, and preferably 2500 V
- Insulation resistance range up to at least 200 GΩ
- Compliance with IEC 61557-2 for insulation resistance testers
- Guard terminal for separating surface leakage from volume leakage
- Timed test function for polarization index measurements
- Data logging and Bluetooth export for commissioning reports
Handheld units that can test up to 2500 V DC are common in the PV industry. Test voltage must never exceed the listing agency’s maximum voltage rating.
Handheld units are sufficient for residential and small commercial work. Larger commercial and utility projects may use multifunction PV testers that combine insulation resistance, I-V curve tracing, ground continuity, and irradiance measurement in one device.
The Guard Terminal
A guard terminal is a third terminal on the megohmmeter that intercepts surface leakage current. It is useful when cables are dirty, wet, or contaminated. Without a guard, surface leakage flows through the measurement path and lowers the apparent insulation resistance. With a guard connected around the outside of the cable jacket, that surface current is diverted away from the measurement.
The guard terminal does not fix damaged insulation. It only removes surface contamination from the reading. If the guarded reading is still low, the fault is in the insulation itself, not on the surface. For a deeper look at field testing workflows, our solar installation quality inspection guide covers the full commissioning test sequence.
Step-by-Step Insulation Resistance Test Procedure
The following procedure applies to a string-level test during commissioning. Adjust the scope for larger systems by testing at combiner box inputs, sub-array levels, or as required by the project specification.
Step 1: Review the Design and Isolation Plan
Before touching any conductor, confirm the single-line diagram, string layout, and test form. Identify every disconnect, combiner box, and inverter input that must be opened. Record the expected Voc, system voltage, and chosen test voltage. Design software like SurgePV’s solar design platform can pre-populate these values and generate test sheets.
Step 2: Notify and Secure the Work Area
Insulation resistance testing places high DC voltage on conductors. Post barriers or warning tape around the array and inverter area. Notify all workers that testing is in progress. No one should touch conductors, module frames, or grounded metal during the test.
Step 3: Wear Appropriate PPE
At minimum, wear electrical insulating gloves with leather protectors, safety glasses, a hard hat, and arc-rated clothing. Higher voltages and larger fault currents require higher levels of PPE per NFPA 70E or local equivalent.
Step 4: Isolate the Circuit
Open the DC disconnect at the inverter. Open any string fuses or combiner box disconnects. Verify zero energy with an approved voltmeter. Use lockout-tagout (LOTO) procedures if required by site policy. Leave the PV modules connected to the conductors unless the procedure specifically calls for testing them.
Step 5: Disconnect Sensitive Equipment
Remove or bypass surge protective devices, monitoring equipment, and any electronics that could be damaged by the test voltage. The inverter must remain disconnected. Some inverter manufacturers provide specific instructions for insulation testing through their equipment; follow those instructions exactly if you choose to do so.
Step 6: Connect the Test Leads
For the shorted-pole method, connect the positive and negative conductors of the string together at the test point. Connect one megohmmeter lead to the combined conductor and the other lead to a known good earth point such as the racking or equipment grounding conductor bus.
For the separate-pole method, leave the poles unshorted. Connect one lead to the positive conductor and the other to earth, then repeat for the negative conductor.
Step 7: Select the Test Voltage
Set the megohmmeter to the voltage that matches the system voltage class. For a 1000 V DC system, use 1000 V DC. For a 1500 V DC system, use 1000 V or 2500 V based on manufacturer and local requirement. Never exceed the module maximum system voltage.
Step 8: Apply the Test Voltage
Press and hold the test button for the specified duration. A typical spot reading is taken at 60 seconds. Some procedures call for a timed test of one minute to allow capacitive charging currents to settle. Record the resistance value, test voltage, ambient temperature, and relative humidity.
Step 9: Discharge and Disconnect
After the reading stabilizes, release the test button. Allow the instrument to discharge the circuit. Disconnect the leads in the reverse order of connection. Remove any temporary shorting jumpers.
Step 10: Reconnect and Repeat
Close disconnects in the proper sequence. Move to the next string or circuit and repeat. Do not leave strings temporarily shorted or disconnected overnight.
Two Test Methods: Shorted Poles vs. Separate Poles
There are two accepted ways to measure insulation resistance in a PV string. Each has advantages depending on whether you are commissioning or troubleshooting.
Shorted-Pole Method
In the shorted-pole method, the positive and negative conductors of the string are connected together. The megohmmeter measures the insulation resistance between the combined live conductors and earth.
Advantages:
- Faster because you take one reading per string
- Matches most standard commissioning forms
- Detects major insulation faults anywhere in the string
Disadvantages:
- Does not distinguish between positive-to-ground and negative-to-ground faults
- Can mask a polarity-specific issue if both poles are not equally insulated
This method is appropriate for initial commissioning when the goal is a pass/fail check of the entire string.
Separate-Pole Method
In the separate-pole method, the positive conductor is measured to earth, then the negative conductor is measured to earth, without shorting them together.
Advantages:
- Identifies which pole has the fault
- Useful for troubleshooting intermittent ground faults
- Helps locate defective modules or connectors on one side of the string
Disadvantages:
- Takes twice as many readings
- Requires careful documentation to avoid polarity errors
This method is preferred when a shorted-pole test fails and you need to narrow down the fault location. Many field teams use the shorted-pole method for commissioning and switch to the separate-pole method for fault isolation.
What Affects Insulation Resistance Readings
Insulation resistance is not a fixed property. It changes with environmental conditions, cable condition, and measurement technique. Understanding these variables prevents false failures and false confidence.
Temperature
Insulation resistance decreases as temperature increases. For every 10°C rise, many cable insulation materials lose roughly half their resistance. A reading of 200 MΩ at 10°C might drop to 50 MΩ at 30°C. Always record ambient temperature with the result and, when trending, correct readings to a common baseline.
Humidity and Moisture
Water on cable jackets, connectors, or module frames creates surface leakage paths. Morning dew is a common cause of temporary low readings. If a string fails after a rainy night but passes after drying, the insulation itself is probably fine. Use a guard terminal to separate surface effects from bulk insulation degradation.
Dirt and Contamination
Dust, pollen, bird droppings, and industrial grime on conductors can lower surface resistance. Cleaning the array and retesting often resolves marginal readings. This is especially important on commercial rooftops near highways, airports, or agricultural operations.
Test Voltage
Higher test voltages stress the insulation more and may reveal defects that lower voltages miss. However, applying too high a voltage can damage thin or degraded insulation. The correct test voltage is the one specified by the standard and the equipment manufacturer.
Connection Quality
Poor contact between the test lead and the earth point can add resistance in series with the measurement. Scrape paint from module frames or use a dedicated grounding bus for the earth connection. Verify that the earth point itself has low resistance back to the grounding electrode.
Module Leakage
PV modules have some inherent leakage current to frame. The total insulation resistance of a string is the parallel combination of all module-to-frame resistances plus the cable resistances. A string with many modules will therefore show a lower total resistance than a single conductor tested alone. For crystalline silicon modules, a typical module insulation resistance is around 50 MΩ per module, according to SMA service documentation.
Common Faults and How to Isolate Them
When a string fails the insulation resistance test, the next task is to find the fault. Work systematically from the largest section to the smallest.
Fault Isolation Workflow
- Test the whole string at the combiner box. If it passes, move to the next string.
- Test each string individually. If one string fails, the fault is in that string.
- Split the poles. Test positive-to-earth and negative-to-earth separately to identify the affected pole.
- Disconnect the homerun cable at the array. Test the homerun alone. If it fails, the damage is in the cable route.
- Test sections of the string. Disconnect modules in halves or thirds to locate the fault.
- Inspect the fault location. Look for crushed cable, pulled-back insulation, water in connectors, or module backsheet damage.
- Repair and retest. Replace damaged cable or connectors, then retest the full string.
Common Failure Locations
- MC4 connectors. Pins that are not fully seated, damaged seals, or metal debris inside the connector can touch the frame or racking.
- Homerun cable entry points. Cable pulled tight through sharp roof penetrations or racking edges can abrade insulation.
- Junction boxes. Water ingress, cracked potting, or loose connections inside module junction boxes lower resistance.
- Tracker cable management. Moving cables on single-axis trackers flex repeatedly and can wear through insulation over time.
- Rodent and wildlife damage. Squirrels, birds, and rodents can chew exposed cable, especially in ground-mount arrays.
A case study from our commissioning protocol guide illustrates this: a 6 kWp residential system in Bristol measured 0.4 MΩ on a damp morning. After three hours of sun, the same string read 2.1 MΩ and passed. The insulation was intact; surface moisture had caused the temporary low reading.
Insulation Resistance in O&M and Troubleshooting
Insulation resistance is not a one-time commissioning test. It is a condition-monitoring parameter that should be tracked over the life of the asset.
Periodic Testing
IEC 62446-3 covers in-service testing and inspection of operational PV systems. While it does not mandate a single test interval for all systems, it recommends periodic checks that include insulation resistance. Many O&M contracts specify annual testing. High-voltage systems, coastal sites, and arrays in dusty or humid climates may need more frequent checks.
Trending and Baselines
The most valuable aspect of periodic testing is the trend. A stable reading of 500 MΩ over five years is reassuring. A steady decline from 500 MΩ to 50 MΩ warns that insulation is degrading even if every reading is still above 1 MΩ. Plotting results by string and by season helps separate real degradation from weather effects.
Ground Fault Diagnosis
When an inverter reports a ground fault, insulation resistance testing is the fastest way to locate it. Start at the combiner box and work down to individual strings. A string that previously passed but now fails has likely suffered physical damage, water ingress, or connector failure. For inverter-specific troubleshooting, manufacturers such as Huawei publish step-by-step isolation procedures.
After Major Weather Events
Hail, flooding, and high winds can damage insulation. Test arrays after severe weather before returning them to service. Even if the inverter starts normally, hidden cable damage can create a delayed fault.
Design Choices That Make Passing Easier
Good design reduces the chance of insulation failures before installation begins. Several decisions make a measurable difference.
Cable Selection
Specify PV wire rated for the system voltage, temperature, and environmental exposure. For 1500 V systems, use 1500 V rated cable even if local code permits 1000 V. In hot climates, choose cables with higher temperature ratings and adequate ampacity derating. In wet or coastal locations, select cables with improved moisture and UV resistance.
Cable Routing and Support
Avoid sharp bends, tight pulls, and contact with metal edges. Maintain proper bend radius. Use cable management systems that prevent chafing on trackers. Keep homerun cables in conduit where practical. Separate AC and DC cabling to avoid induced currents and physical damage.
Connector Quality and Handling
Use matched connector pairs from the same manufacturer. Do not mix brands unless compatibility is verified. Train installers to hear the click and to avoid forcing connectors. Store connectors in sealed containers until use to keep debris out.
Grounding and Bonding Design
A well-designed grounding system gives the megohmmeter a reliable reference. Ensure module frames, racking, and inverter enclosures are bonded together with low-impedance paths. Poor grounding can make insulation resistance readings unstable and difficult to interpret.
Ingress Protection
Specify junction boxes, combiner boxes, and enclosures with appropriate IP ratings for the site. A junction box rated IP67 handles temporary submersion better than one rated IP54. Pay special attention to cable gland torque and seal integrity.
SurgePV’s solar design software lets designers lock in cable schedules, connector specifications, and grounding details during the design phase. That reduces the field surprises that turn into failed megger tests.
Recording and Documenting Results
Documentation turns a test into evidence. A commissioning report should include enough detail for an inspector, financier, or future O&M team to understand what was tested and why it passed.
Required Test Record Fields
A commissioning report should follow the structure described in Seaward’s photovoltaic system commissioning and testing guide. Each insulation resistance test record should include:
- Date and time of test
- Test technician name and company
- Weather conditions: ambient temperature and relative humidity
- System or string identifier
- System DC voltage and test voltage applied
- Test method: shorted poles or separate poles
- Measured insulation resistance for each reading
- Pass/fail determination against the specified limit
- Instrument make, model, serial number, and calibration date
- Notes on any anomalies, guard-terminal use, or retests
Acceptance Criteria on the Form
Do not rely on the technician’s memory. Print the acceptance limit directly on the test form. For example: “Minimum 1 MΩ at 1000 V DC per IEC 62446-1.” This prevents misinterpretation between field teams and reviewers.
Digital Tools
Modern PV test instruments store readings electronically and export them with time stamps and GPS coordinates. Pairing these with a design platform eliminates the manual transcription step. A complete commissioning package should link test records to the as-built single-line diagram, string layout, and module serial numbers.
Cut commissioning paperwork in half
SurgePV generates string schedules, cable schedules, and pre-filled IEC 62446 test sheets from your design model. Book a demo to see how it works.
Book a DemoNo commitment required · 20 minutes · Live project walkthrough
Key Takeaways for Installers and Designers
Insulation resistance testing is simple in concept but demanding in execution. A few principles separate teams that consistently pass from those that fight avoidable call-backs.
- Test before energization. Once the inverter is live, a ground fault becomes an operational incident instead of a commissioning finding.
- Use the right voltage. Match the test voltage to the system voltage class and manufacturer limits.
- Record conditions. Temperature and humidity explain more marginal readings than any other variable.
- Use a guard when needed. Surface leakage from dew or dirt is not the same as damaged insulation.
- Trend over time. A single snapshot is useful; a multi-year trend is powerful.
- Fix the cause, not just the symptom. A failed string is usually telling you about a cable handling or installation practice that needs correction.
Teams that build these habits into their standard operating procedures deliver safer arrays and cleaner handover packages. They also spend less time retesting and chasing warranty disputes. Installers who want to systematize this workflow can explore the resources on our installer-focused page.
Frequently Asked Questions
What is solar insulation resistance testing?
Solar insulation resistance testing, also called a megger test, measures the resistance between live DC conductors and earth in a PV system. A megohmmeter applies a controlled DC test voltage, measures leakage current, and calculates resistance using Ohm’s Law. It verifies that cable and module insulation is intact before energization.
What is the minimum acceptable insulation resistance for a solar PV system?
Per IEC 62446-1, PV systems with an open-circuit voltage above 120 V DC must measure at least 1 MΩ. Systems below 120 V DC must measure at least 0.5 MΩ. Many owners and financiers set a higher practical threshold of 100 MΩ for new equipment, derived from ANSI/NETA ATS maintenance standards.
What test voltage should I use for solar insulation resistance testing?
Use 250 V DC for systems below 120 V DC, 500 V DC for systems up to 240 V DC, and 1000 V DC for systems above 500 V DC per IEC 62446-1. For modern 1500 V DC systems, some procedures call for 1000 V or 2500 V test voltage, but never exceed the module manufacturer’s maximum voltage rating.
Can insulation resistance testing damage PV modules or inverters?
Insulation resistance testing is non-destructive when performed correctly. Always disconnect the inverter, surge protection devices, and monitoring electronics before testing. Test voltage must not exceed the module manufacturer’s maximum DC voltage rating. Testing through modules requires manufacturer approval.
Why does my insulation resistance reading fail in the morning but pass at midday?
Morning dew, fog, or rain can create surface leakage paths on cables and connectors. This lowers the measured resistance even when the insulation itself is intact. Retest after the array has dried in sunlight, or use a guard terminal to separate surface leakage from true insulation leakage.
How do I locate a low insulation resistance fault?
Start by testing the whole string or array. If the result is below the limit, isolate individual strings, then split positive and negative conductors, then isolate sections of cable or individual modules. Retest at each step. Common fault locations include damaged homerun cable, nicked MC4 connectors, and water ingress in junction boxes.
How often should insulation resistance be tested in operation?
Test during initial commissioning before energization. Then repeat during periodic maintenance, typically annually or in accordance with IEC 62446-3 in-service inspection guidance. Trending results over time is more useful than a single snapshot because gradual degradation often appears before a hard fault.
What is the difference between testing with shorted poles and testing each pole separately?
The shorted-pole method connects the positive and negative conductors together and measures insulation resistance to earth. It is faster and matches many commissioning forms. The separate-pole method measures positive-to-earth and negative-to-earth independently. It can reveal polarity-specific faults and is useful for troubleshooting.
Where this fits
This article is part of SurgePV's Solar Design hub, which works through the topic from first principles to the decisions a project team actually has to make.