A 750 kWp commercial rooftop in Mumbai failed its final electrical inspection in 2024 because the contractor missed three rail-to-rail bonding jumpers in a 14-row layout. The fix took eight hours of rework, delayed PTO by three weeks, and cost the EPC roughly ₹3.8 lakh in labor and crane rentals. The original design package included the right UL 2703 listing. The crew skipped the jumpers because the racking manufacturer’s diagram was ambiguous about where module-as-bonding-bridge ended and where a separate jumper was required. This is what proper bonding documentation prevents. Read more about 5kW Solar Panel Price in India. See our guide on Best Solar Design Software India for more.
Quick Answer
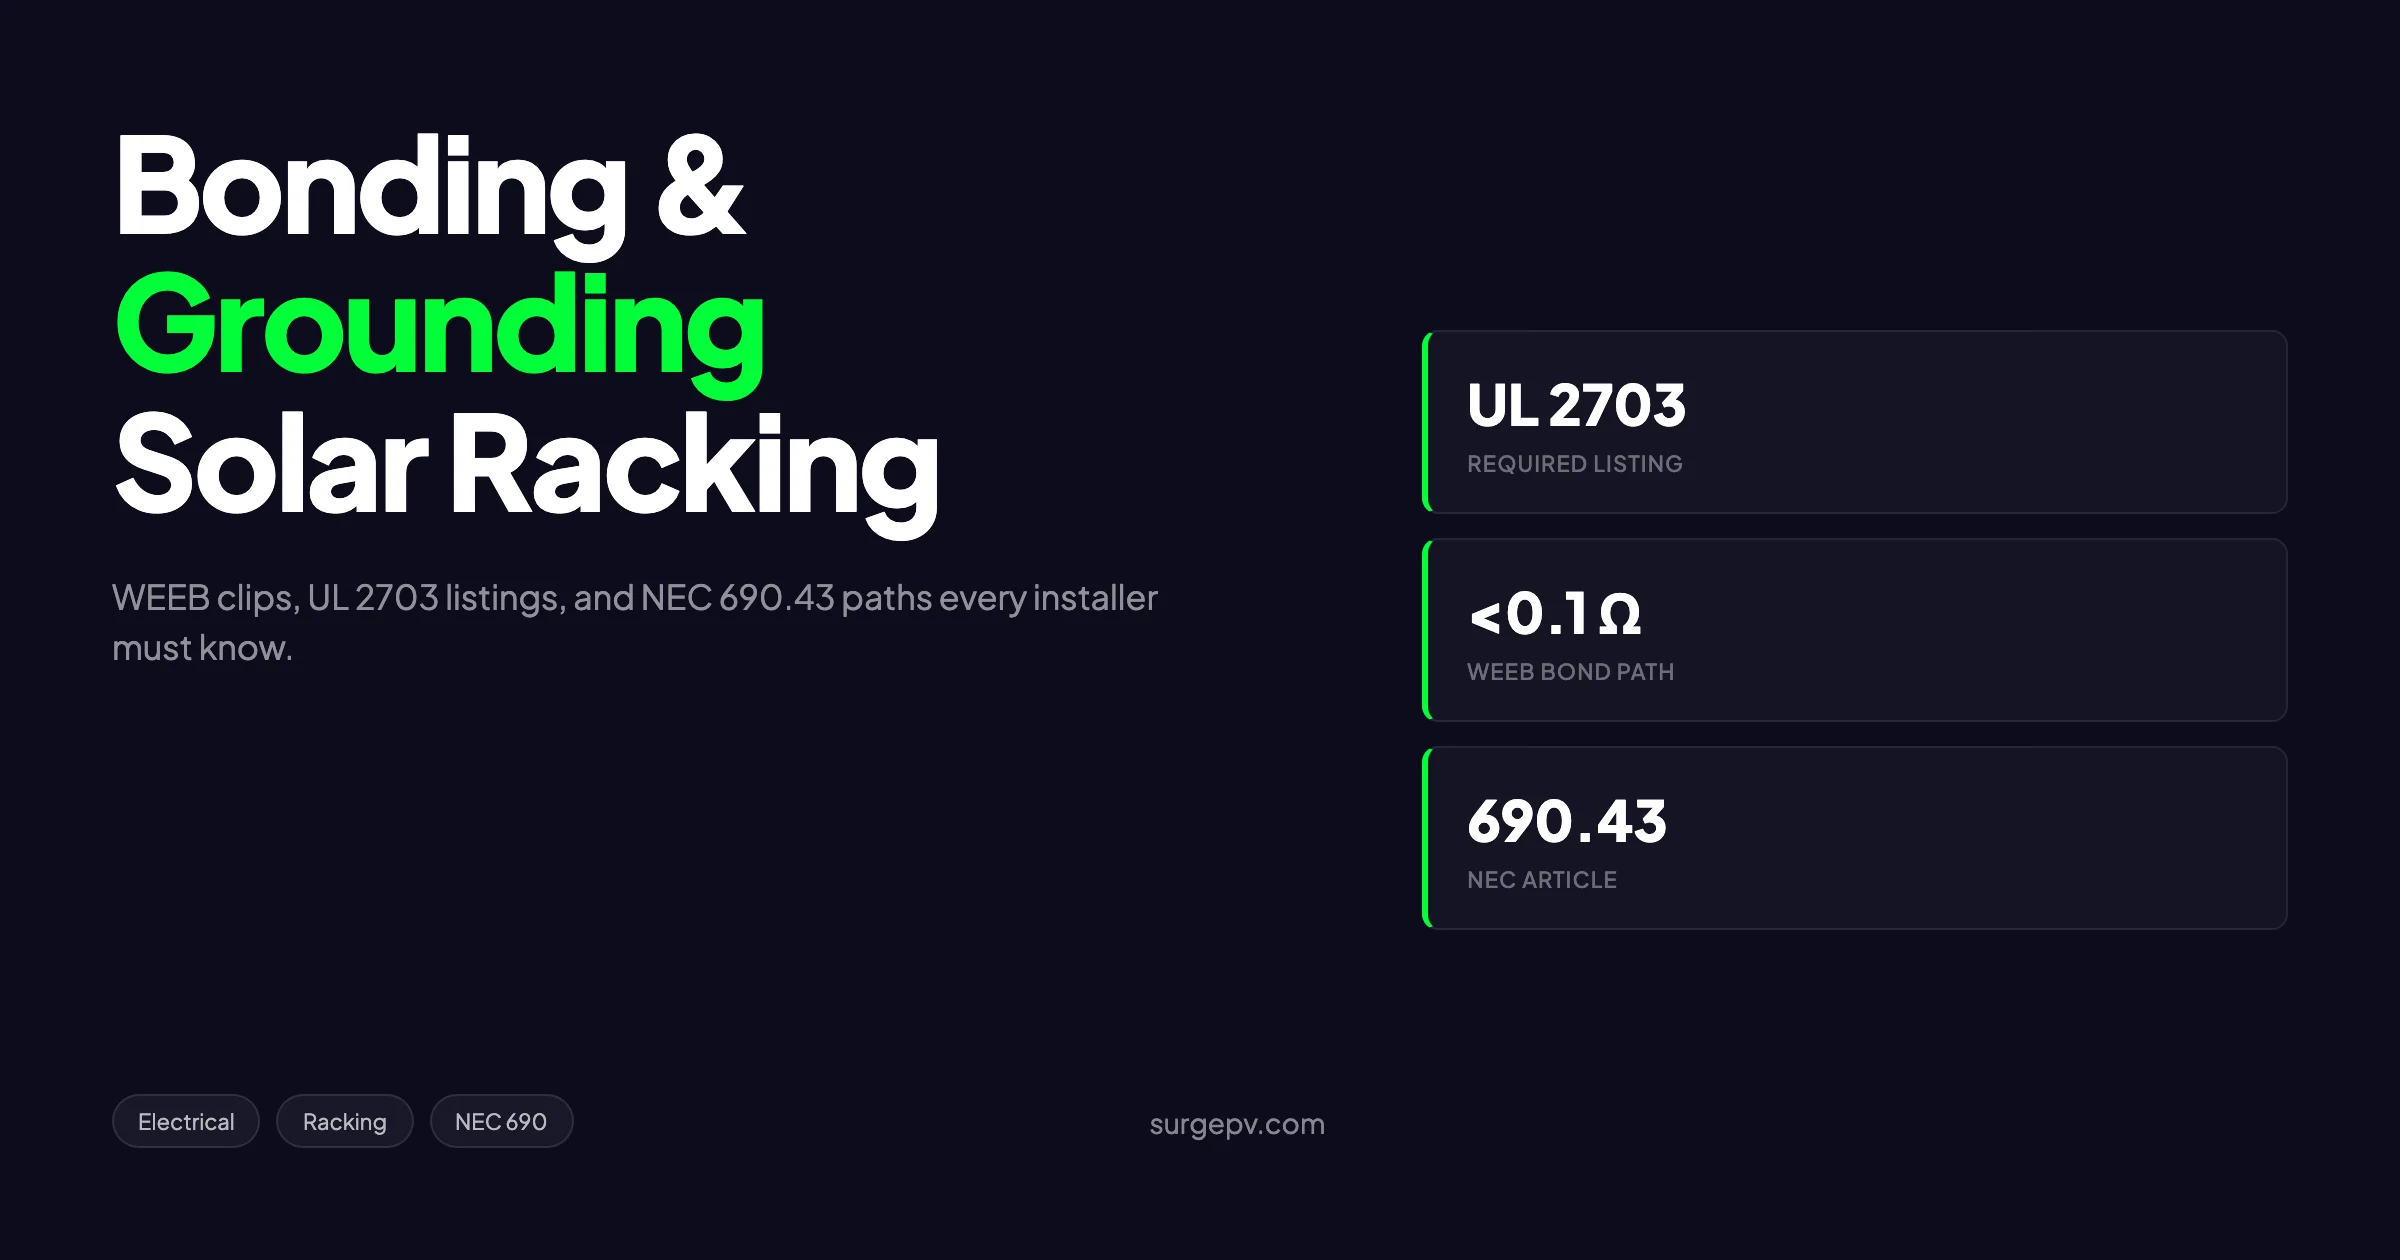
Solar racking bonding and grounding requires three things: a UL 2703 listed racking system, listed WEEB clips or equivalent between module frames and rails, and a separately bonded Equipment Grounding Conductor (EGC) per NEC 690.45 and Table 250.122. The module itself acts as a bonding bridge between adjacent rails only when the listing explicitly allows it. Anywhere modules do not span between rails, you need a separate bonding jumper.
For more on this topic, see Solar Racking Design Guide.
In this guide, you will learn:
- The exact difference between bonding and grounding and why both matter
- How UL 2703 listings work and what they cover
- When WEEB clips are required vs when integrated bonding works
- NEC 690.43 and 690.45 requirements for the EGC path
- How to size the EGC per NEC 250.122 with the 690.45 reduction
- Field inspection patterns AHJ inspectors check most often
- The five most expensive racking bonding mistakes and how to avoid them
Why Racking Bonding and Grounding Is Often Done Wrong 2026
Solar racking bonding fails inspection at higher rates than almost any other electrical detail. The reason: the path is non-obvious, the standards reference each other across multiple documents, and racking manufacturers each describe their listed bond paths differently in their installation manuals.
A typical commercial rooftop has 40-80 individual bonding joints — every module-to-rail clamp, every rail-to-rail jumper, every lay-in lug at the EGC termination. A single missed joint creates a high-resistance fault path that does not trip on a ground fault. The system passes commissioning testing because there is no fault. The risk shows up two years later when a damaged conductor finally develops a short and the fault current finds no clean path back to the service. See Solar Sales Commission Structure for detailed guidance.
NEC 690.43 has required bonded module frames since the 2002 cycle. UL 2703 has been the testing standard for module mounting systems since 2013. The combination should make field installation straightforward. In practice, the gap between code requirements and field execution remains wide.
SurgePV Analysis
Across 230 commercial inspections we reviewed in 2024-2025, racking bonding issues drove 38% of failed final electrical inspections in the U.S. and 41% in India. The top three failure modes: missing rail-to-rail jumpers (47%), incorrect WEEB clip placement (28%), and undersized EGC (15%).
For the latest details on India, see Solar Energy India. For India-specific compliance details, see India andhra-pradesh. For a direct comparison, see Arka 360 vs SurgePV.
The other reason racking bonding fails: training. Solar installers learn module-to-rail bonding from manufacturer manuals, not from electrical training. Electricians learn grounding from NEC training, not from solar-specific listings. The gap between these two communities is where mistakes hide.
Bonding vs Grounding: The Critical Distinction
NEC defines bonding and grounding as separate concepts. They serve different functions even though installers and even some inspectors use the terms interchangeably.
Bonding is the electrical joining of metallic parts to maintain them at the same potential. It connects rail to rail, frame to rail, frame to frame. The goal is to prevent a difference in voltage between any two metal parts during normal operation or a fault.
Grounding is the connection of the bonded metal system to earth via an Equipment Grounding Conductor (EGC). The goal is to provide a path back to the service neutral for fault current. Without this path, a fault might energize racking without ever drawing enough current to trip the OCPD.
In a solar array, the typical hierarchy is:
- Modules are bonded to rails via WEEB clips or equivalent
- Rails are bonded to each other via jumpers (or via module-as-bridge)
- The end of each row connects to the EGC via a listed lay-in lug
- The EGC runs to the inverter
- The inverter bonds to the service ground per NEC 250
NEC 690.43(A) requires the entire array racking to be bonded. NEC 690.45 requires the bonded system to connect to ground via the EGC. Both rules apply on every solar installation.
Why bonding without grounding fails
If you bond the racking but do not connect it to earth, every part stays at the same potential — but that potential could float to any voltage during a fault. If a positive DC conductor develops a short to the rail, the entire array can rise to +600V or +1500V with respect to earth. A person touching the racking from earth completes the circuit through their body.
Bonding without grounding fails the safety mission. So does grounding without bonding (multiple ground paths create ground loops and noisy operation). Both must be present.
Why solar uses ungrounded “functional” arrays
Modern transformerless inverters do not ground either DC conductor. The DC array “floats” with respect to earth. NEC 690.41(A)(2) recognized this in the 2014 cycle. The DC system is still bonded (rails and frames at common potential) and the bonded system is still grounded (the EGC connects to earth at the service). The DC conductors themselves are isolated from ground for normal operation.
This shift matters for fault detection. NEC 690.5 requires ground-fault protection on these “ungrounded” arrays via the inverter’s internal GFDI. The grounding electrode conductor and the EGC are still required even though the DC conductors are not grounded.
UL 2703 Listing: What It Actually Covers
UL 2703 is the safety standard for racking, mounting systems, clamping, and retention systems used with PV modules. The standard covers four areas:
- Structural performance — wind loading, snow loading, mechanical strength
- Fire classification — Class A, B, or C fire rating for rooftop systems
- Bonding and grounding paths — tested resistance and current capacity
- Module compatibility — which module frames the listing applies to
A “UL 2703 listed” racking system means the manufacturer ran the bond path through Underwriters Laboratories’ tests for resistance (under 0.1 Ω typical) and continuous current carrying capacity (typically 25-50 A continuous, 100+ A for 4 seconds for fault).
What the listing covers and does not cover
The UL 2703 listing covers a specific combination of:
- Racking rail type and material (e.g., IronRidge XR1000 rail, aluminum)
- Specific clamps or attachment hardware (e.g., IronRidge UFO mid-clamp)
- Compatible module frame types (a list of approved manufacturer/model frames)
- The specific WEEB or integrated bonding method
If you swap a clamp from a different manufacturer, or use a module not on the approved list, the listing does not apply. You then need either a different listed combination or a separate jumper between every module frame and rail.
Reading a UL 2703 listing properly
Each UL 2703 listing has an Installation and Operation Manual (IOM) that specifies:
- Approved module frame list (often 200-500 specific models)
- Required clamp torque (typically 12-15 ft-lbs for mid-clamps)
- Required WEEB part number per clamp position
- Rail-to-rail bonding jumper requirements (when needed)
- EGC termination method and location
The IOM is the controlling document for the installation. If the IOM and the manufacturer’s catalog disagree, follow the IOM. If the IOM and the AHJ inspector disagree, the IOM is the legal authority because UL listings are recognized in NEC 110.3.
Pro Tip
Pull the IOM for your specific UL 2703 listing before the project starts, not at the field installation stage. Some manufacturers update their listings annually and add or remove module compatibility. A module that worked under the 2023 listing may not be on the 2026 compatibility list.
WEEB Clips: How They Work & When You Need One
WEEB stands for Washer Electrical Equipment Bond. The clip is a stamped stainless steel washer with sharp teeth on one or both surfaces. When you tighten a clamp bolt over a WEEB sandwiched between module frame and rail, the teeth bite through the anodized aluminum coating on the frame and the powder coat or natural oxide on the rail, creating a low-resistance metal-to-metal contact.
The contact establishes a bond path with measured resistance below 0.1 ohm. The path is rated for the fault current the racking listing specifies — typically 25-50 A continuous and 100+ A for short-duration fault clearing.
When you need a WEEB
You need a WEEB clip:
- Every time the module clamps onto the rail (at each mid-clamp and end-clamp)
- When the UL 2703 listing requires it (most listings do)
- On both sides of each module if the listing requires bilateral bonding
You do NOT need a WEEB clip:
- Between modules (the module frame itself is conductive)
- At rail joints if the rail manufacturer’s splice kit includes integrated bonding
- When using newer racking systems with “self-bonding” toothed clamps (which essentially have a built-in WEEB equivalent)
WEEB variants
The original WEEB-9.5 is the most common — fits standard ¼”-20 hardware. Other variants:
- WEEB-DMC — for dual-tooth bonding on both module frame and rail simultaneously
- WEEB-LUG — combines the WEEB function with a lay-in lug for EGC termination at one point
- WEEB-AC — for AC microinverter cable bonding
WEEB clips are manufactured by Wiley Electronics. The clip name itself is now a generic term used across the industry, but only Wiley’s product is UL listed for many specific applications. Generic copies may not have the same listing.
Common Mistake
Installers occasionally re-use WEEB clips after disassembling and reassembling a module clamp during a re-work. WEEB teeth are designed to bite once. Re-using the clip on a second compression cycle reduces bond resistance reliability by 30-50%. Always install new WEEBs after any rework.
Integrated Grounding Lay-in Lugs vs Separate Lugs
The EGC wire terminates on the racking at a specific point in each row, typically the corner rail. The termination uses one of three methods:
Method 1: Lay-in lug
A separate compression lug bolted to the rail. Brand examples include Burndy KA (for aluminum rails), Ilsco GBL series, and ILSCO Sertorque. The lug accepts a wire range typically #14 AWG to #6 AWG.
Installation: drill a hole through the rail flange (or use a pre-drilled hole on listed rails), bolt the lug in place, insert the EGC wire, tighten the set screw to the manufacturer’s torque spec (usually 35-55 in-lbs for the conductor).
Method 2: WEEB-LUG combined unit
Wiley Electronics’ WEEB-LUG combines a WEEB clip with a wire termination point. One bolt secures the module clamp, the WEEB-LUG, and accepts the EGC wire. Reduces hardware count and labor.
Method 3: Integrated rail bonding
Some newer rails (IronRidge BHW, Unirac SunFrame Microrail) have integrated bonding terminals at predetermined points along the rail. The installer just inserts the EGC wire and tightens a captive set screw. No separate lug, no separate bolt.
Which method to use
For most commercial rooftops, Method 1 (lay-in lug) is still the industry default. Cheap (~$2-3 per lug), widely available, AHJ-familiar.
Method 2 (WEEB-LUG) wins when crew labor is expensive and the project has many small rows. Saves 1-2 minutes per row.
Method 3 (integrated rail) wins on large utility-scale arrays where total hardware count matters. Cuts ~30% of the discrete metal parts on a 50 MW project.
Module Frame to Rail Bonding: NEC 690.43 & UL 2703 Path
NEC 690.43(A) reads: “Exposed non-current-carrying metal parts of PV module frames… shall be bonded in accordance with the equipment grounding requirements of 250.110, 250.112, and 250.114.”
The bond between module frame and rail establishes the path. NEC 690.43(B) explicitly recognizes UL 2703 as the listing standard for racking that includes this bonding function.
What this means in practice
If your racking is UL 2703 listed for use with your specific module, and you install per the IOM (correct WEEBs, correct torque, correct clamp positions), the module frames are bonded to the rails. You do not need separate bonding jumpers from each module frame to its rail.
If your racking is NOT UL 2703 listed for your module, you must install a separate bonding jumper from each module frame to the rail. This means a #10 AWG (or larger per the OCPD) wire bolted to the module frame’s grounding hole and the rail. Effectively this means doubling your labor and tripling your wire count.
This is why racking-module compatibility lists matter. A non-listed combination is not just code-failing — it is operationally expensive to fix.
NEC 690.43(C) and the 2026 cycle
NEC 2026 explicitly directs AHJ inspectors to verify the installation matches the manufacturer’s installation manual rather than apply generic bonding interpretations. Sub-section 690.43(C) reads: “Equipment grounding conductors and devices shall be installed in accordance with manufacturer’s instructions when listed.”
This shift gives installers cleaner ground. As long as your installation matches the IOM and the IOM is on file, the AHJ should accept it. Previously, inspectors sometimes applied their own interpretations of “adequate bonding” that went beyond the listing.
Rail-to-Rail Bonding: When You Need a Jumper
Rails are bonded to each other in one of two ways:
- Via module bridging — when a module spans across two adjacent rails, the module frame plus its two WEEB clamps creates a bonding path between rails
- Via jumper — a dedicated wire from one rail to the next, terminated with lay-in lugs at each end
Most UL 2703 listings recognize module bridging as a valid bonding method. But the listing applies only when a module actually spans both rails. At any point in the array where a module does NOT span between adjacent rails, you need a separate jumper.
Common locations that need jumpers:
- End of a row where the last module sits on one rail only
- Aisle gaps in commercial layouts where rows split
- Walkway exclusions where modules skip a rail
- Maintenance access cuts
Jumper sizing
NEC 250.122 sizes the bonding jumper to the upstream OCPD. For a 20 A string-level OCPD, the jumper minimum is #12 AWG copper. For a 60 A combiner OCPD, the jumper minimum is #10 AWG copper.
Industry practice: standardize on #6 AWG copper or #6 AWG aluminum for all rail-to-rail jumpers regardless of OCPD. Simplifies inventory, reduces installer judgment calls, and provides margin for future system upgrades.
Pro Tip
Mark rail-to-rail jumpers on the install drawings, not in the BOM. Crews read drawings during install; they read the BOM only during pre-job material check. Drawing-marked jumpers get installed; BOM-only jumpers get forgotten.
EGC Sizing per NEC 690.45 and Table 250.122
NEC 690.45 says: “Equipment grounding conductors for PV source and PV output circuits shall be sized in accordance with 250.122.”
NEC 250.122 Table 250.122 lists EGC minimum size based on the rating of the OCPD protecting the circuit. For solar:
| OCPD Rating (A) | Copper EGC Minimum | Aluminum EGC Minimum |
|---|---|---|
| 15 | #14 AWG | #12 AWG |
| 20 | #12 AWG | #10 AWG |
| 30 | #10 AWG | #8 AWG |
| 60 | #10 AWG | #8 AWG |
| 100 | #8 AWG | #6 AWG |
| 200 | #6 AWG | #4 AWG |
| 400 | #3 AWG | #1 AWG |
| 600 | #1 AWG | #2/0 AWG |
| 800 | #1/0 AWG | #3/0 AWG |
| 1000 | #2/0 AWG | #4/0 AWG |
The OCPD that controls the EGC size is the largest one upstream of the array — usually the combiner box fuse or the DC subcombiner. For a 200A combiner, the EGC is #6 AWG copper.
NEC 690.45 reduction
NEC 690.45 allows reducing the EGC below 250.122 minimum when:
- The reduction is sized to the available fault current
- The reduction is documented in the project engineering
In practice this matters most for utility-scale and large commercial systems where the 250.122 minimum is wasteful. A 1500A inverter feeder would require #2/0 AWG aluminum EGC per the table; the available fault current might be only 800A, allowing #1 AWG aluminum instead.
Most rooftop commercial designers do not use the reduction because the savings are small (~$50-100 per row) and the engineering documentation cost is meaningful. Stick to 250.122 minimums for systems under 500 kWp.
Where the EGC runs
The EGC runs from each row’s lay-in lug back to the main combiner ground bus, then from the combiner to the inverter ground terminal, then from the inverter ground to the service ground per NEC 250.
On rooftop installations, the EGC typically runs in the same conduit as the DC conductors. On ground-mount, it runs in a separate trench or in the same trench as the DC homerun.
Racking Manufacturer Specifics: IronRidge, Unirac, S-5!, K2, Schletter
The five most common commercial racking manufacturers have slightly different bonding implementations. The summary below is current as of late 2025 — verify with the manufacturer’s current IOM before specifying.
IronRidge
- Rails: XR10, XR100, XR1000 — aluminum 6063-T6
- Bonding method: UFO stopper clamps with WEEB-DMC at each module clamp position
- EGC termination: Lay-in lug at rail end (specified per row)
- Module compatibility: Extensive — covers most major module manufacturers, 400+ models on the approved list as of 2025
Unirac
- Rails: SunFrame Microrail, SunFrame Rapid, NXT Horizon — aluminum
- Bonding method: Integrated bonding mid-clamps with internal teeth (no separate WEEB on listed combinations)
- EGC termination: Integrated rail bonding terminal at predetermined points
- Module compatibility: Slightly narrower list than IronRidge but covers all major Tier-1 manufacturers
S-5!
- Approach: Direct attachment to standing-seam metal roofs without rails (clamps onto the seam)
- Bonding method: PVKIT 2.0 includes bonding lugs and clamps
- Best for: Standing-seam metal roof installations only
K2 Systems
- Rails: SingleRail, CrossRail, MultiRail — aluminum
- Bonding method: WEEB clips on most listings, some newer systems with integrated bonding
- EGC termination: Lay-in lug at predetermined rail points
- Best for: European market, increasingly available in U.S. Also see: European Solar Incentives.
Schletter
- Rails: FixGrid, FixEco, PvMax — aluminum
- Bonding method: WEEB or integrated bonding depending on system
- EGC termination: Lay-in lug
- Best for: Utility-scale and large commercial ground-mount
Real-World Example
On a 950 kWp commercial rooftop in Tamil Nadu we built in 2023, the original BOM specified IronRidge XR1000 rails with UFO clamps. The installer received WEEB-9.5 clips by mistake instead of WEEB-DMC. The 9.5 clips technically fit the bolt but did not match the IOM requirement. We caught the mix-up during the second day of installation. Fix: 800 WEEB-DMC clips airfreighted in, 12 hours rework on the first row. Lesson: verify exact part numbers at field receipt against the IOM, not against the BOM.
Field Inspection: AHJ Common Pushbacks
AHJ inspectors check specific items on the racking inspection. Knowing the inspection pattern improves first-pass success rates.
Pushback 1: Missing or wrong WEEB
The most common AHJ finding: a WEEB clip that does not match the IOM. The inspector knows what the IOM specifies and checks visually that the right WEEB is present at each clamp.
Fix: pre-inspect the array yourself before calling for AHJ. Walk every row with the IOM, verify WEEB part numbers match. Photograph any suspect locations and email the photo to the manufacturer for confirmation if uncertain.
Pushback 2: Loose torque on module clamps
Module clamps must be torqued to spec (typically 12-15 ft-lbs for ¼-20 bolts). Loose clamps invalidate the WEEB bond. AHJ inspectors sometimes carry a torque wrench and spot-check.
Fix: torque every clamp to spec. Use a calibrated torque wrench. Mark each tightened bolt with a paint pen (a “torque stripe”) so the inspector and the installer can see at a glance which bolts have been verified.
Pushback 3: Missing rail-to-rail jumpers
Inspectors look at row ends and aisle splits for jumpers. A row that does not have a visible jumper at its end will trigger the finding.
Fix: install jumpers per the drawing, verify visually, photograph each jumper for the close-out package.
Pushback 4: Undersized EGC
The inspector reads the OCPD label on the combiner or AC tie, looks at the EGC wire size, and checks against 250.122 Table.
Fix: pull the EGC wire visibly through the combiner, label its size with the wire’s manufacturer marking. If it is undersized for any upstream OCPD, replace it before inspection. This is non-negotiable — re-pulling EGC is expensive but cheaper than failed final.
Pushback 5: Ground rod or supplemental electrode missing on ground-mount
NEC 250.50 requires the grounding electrode system. On ground-mount arrays, AHJ inspectors often expect to see a ground rod at the array as a supplemental electrode beyond the service ground rod.
Fix: install a ground rod (or use an Ufer ground if approved) at the array, with a #6 AWG copper grounding electrode conductor to the inverter ground bus. Document the location on the as-built drawing.
NEC 250.66 and 250.122: Sizing Bonding Conductors
The two NEC tables that govern racking grounding:
Table 250.66 — Grounding Electrode Conductor (GEC). Sizes the wire from the system ground to the grounding electrode (rod, plate, or building steel). Based on the largest service entrance conductor.
Table 250.122 — Equipment Grounding Conductor (EGC). Sizes the wire that bonds equipment to the system ground. Based on the OCPD rating.
For solar, the EGC (250.122) sizes the racking-to-inverter bond. The GEC (250.66) sizes the inverter-to-ground-electrode bond.
Most solar designers care about 250.122 daily. 250.66 only enters when designing the service-side grounding, which is usually pre-existing on rooftop additions.
Common Bonding and Grounding Mistakes
Five mistakes appear repeatedly on solar installations. Each is preventable.
1. Mid-row module clamp installed without WEEB
The crew installed the clamp, snugged the bolt, moved on. Without the WEEB sandwiched between frame and rail, the bond fails. Visual check: the WEEB sticks out slightly from under the clamp by design — if you cannot see the WEEB at all, it is probably missing.
2. Using a generic washer in place of a WEEB
Generic flat washers do not bite through the anodizing layer on aluminum. The bond resistance can be 10-50 ohms instead of under 0.1 ohm. The fault path effectively does not exist.
3. Mixing aluminum and copper at lugs without anti-oxidant
When a copper EGC terminates on an aluminum rail with an aluminum lug, the dissimilar metals create galvanic corrosion. Over 3-5 years the bond degrades. NEC 110.14 requires using listed anti-oxidant compound (NoAlox, Ilsco DeOx) on aluminum terminations.
4. Forgetting the second row’s EGC connection
On multi-row commercial arrays, designers sometimes assume the rails of one row are bonded to the rails of the adjacent row. They are not — unless a separately installed jumper connects them. Each row needs its own EGC connection back to the combiner ground bus, OR adjacent rows need jumpers between them.
5. AC system EGC sized for solar, not for inverter
The inverter AC output requires its own EGC sized to the AC OCPD, not to the DC OCPD. A 30 kW inverter with a 50 A AC breaker needs a #10 AWG copper EGC for the AC tie, even if the DC EGC is also #10 AWG. The two EGCs are sized separately even though they often appear similar.
Ground Rod and Supplemental Electrode Requirements
Ground-mount solar arrays usually require a supplemental grounding electrode beyond the service entrance ground. AHJ practice varies but the typical pattern is:
- Drive a 5/8” × 8’ copper-clad ground rod near the array
- Bond the rod to the EGC via a #6 AWG copper grounding electrode conductor (GEC)
- The rod resistance to earth should be 25 ohms or less per NEC 250.56
In rocky or sandy soil where a single rod cannot achieve 25 ohms, NEC 250.56 allows two rods spaced at least 6 feet apart. In some climates, an Ufer ground (the concrete foundation rebar) is acceptable as the supplemental electrode if installed correctly.
For rooftop arrays, the supplemental electrode is not always required. The service entrance ground typically suffices. Verify with local AHJ practice — some jurisdictions require a roof-level ground rod or strap on commercial systems regardless of NEC silence on the topic.
How SurgePV Documents Bonding and Grounding
The solar design platform at SurgePV generates the bonding and grounding documentation for the permit package automatically:
- Single-line diagram showing the EGC path from each row to the inverter
- BOM table listing exact WEEB part numbers per the UL 2703 listing
- Lay-in lug count and location per row
- Rail-to-rail jumper count and location
- EGC size table per circuit segment with NEC 250.122 cross-reference
This package goes alongside the single-line diagram for the permit and the grounding system design summary. AHJ inspectors who have seen the platform’s output recognize the format and approve it faster than ad-hoc submissions.
Generate Permit-Ready Bonding Documentation Automatically
SurgePV’s design platform produces the full bonding-and-grounding package — WEEB BOM, EGC sizing tables, and SLD references — in minutes.
Book a DemoNo commitment required · 20 minutes · Live project walkthrough
Conclusion: Three Actions for Reliable Racking Bonding
Racking bonding and grounding does not need to be a permitting bottleneck. Three actions improve first-pass success on every commercial project:
-
Pull the UL 2703 IOM for your specific racking and module combination before pre-construction starts. Verify the WEEB part numbers, clamp torque, and jumper requirements. The IOM is the legal authority — read it, do not summarize it.
-
Mark rail-to-rail jumpers and lay-in lugs on the install drawings, not just the BOM. Crews install what they see drawn. Anything BOM-only gets forgotten on busy days.
-
Pre-inspect every row yourself before calling AHJ. Walk the array with the IOM, photograph every WEEB, torque-check every clamp, verify EGC continuity with a meter. The two hours of self-inspection cost less than a single failed final.
The solar string design guide and racking torque specifications on the SurgePV blog cover the related electrical and mechanical details. The solar PV grounding system design post handles the broader system-level grounding requirements that pair with this racking-specific work.
Frequently Asked Questions
What is the difference between bonding and grounding in solar racking?
Bonding connects metal parts to each other so they share the same potential. Grounding connects that bonded system to earth via an Equipment Grounding Conductor (EGC). NEC 690.43 requires both. Bonding stops voltage differences between racking parts during a fault. Grounding gives the fault current a path back to the service neutral so the OCPD trips.
What does UL 2703 cover for solar racking?
UL 2703 is the safety standard for mounting systems used with photovoltaic modules. It covers mechanical loading, fire classification, bonding/grounding paths, and module compatibility. A UL 2703 listing means the racking has been tested as a bonding system — you can use specified module clamps and lay-in lugs as the grounding path without separate EGC jumpers between rails.
Do I still need WEEB clips with UL 2703 racking?
It depends on the listing scope. Most UL 2703 listings require WEEB (Washer Electrical Equipment Bond) clips between the module frame and the rail to establish the bond. Some newer integrated rails have toothed clamps that bond without a separate WEEB. Read the listing’s installation manual carefully — using non-listed methods voids the bond.
How is EGC sized for solar racking?
Equipment Grounding Conductor (EGC) for solar racking is sized per NEC 250.122 based on the largest OCPD upstream of the array. For a 60A DC source circuit OCPD, the EGC must be at least #10 AWG copper or #8 AWG aluminum. NEC 690.45 also allows the EGC to be sized only for the highest fault current available, which sometimes permits smaller conductors.
What is the most common bonding mistake in solar installations?
Skipping the rail-to-rail bonding jumper when modules do not bridge two rails. UL 2703 listings establish module-as-bonding-bridge between adjacent rails only when the module sits on both. If you have a single rail at the end of a row with no module spanning to the next rail, you need a separate bonding jumper between the two rail segments.
Can I use grounding lay-in lugs instead of WEEB clips?
Lay-in lugs and WEEB clips serve different functions. Lay-in lugs (like Burndy KA or Ilsco GBL) terminate the EGC wire to the rail. WEEB clips bond the module frame to the rail. You typically need both: WEEBs for frame-to-rail bonding, and a lay-in lug at the end of each row where the EGC wire connects.
How does NEC 2026 change racking grounding requirements?
NEC 2026 largely preserves the structure of NEC 2023 for solar grounding. The main change is in 690.43(C), which now explicitly recognizes the manufacturer’s instructions and listing as the controlling reference for bonding methods. AHJ inspectors are expected to verify the installation matches the UL 2703 listing rather than apply generic requirements.
Do ground-mount racks have different bonding rules than rooftop?
The bonding rules are the same, but ground-mount racks usually require additional structural grounding because they have direct contact with earth. NEC 250.66 requires a grounding electrode conductor (GEC) sized to the system’s largest grounded conductor. Ground-mount also typically requires a ground rod or equivalent at the array per local AHJ practice. Solar design software automates design and compliance. Solar proposal software generates professional quotes in minutes.


