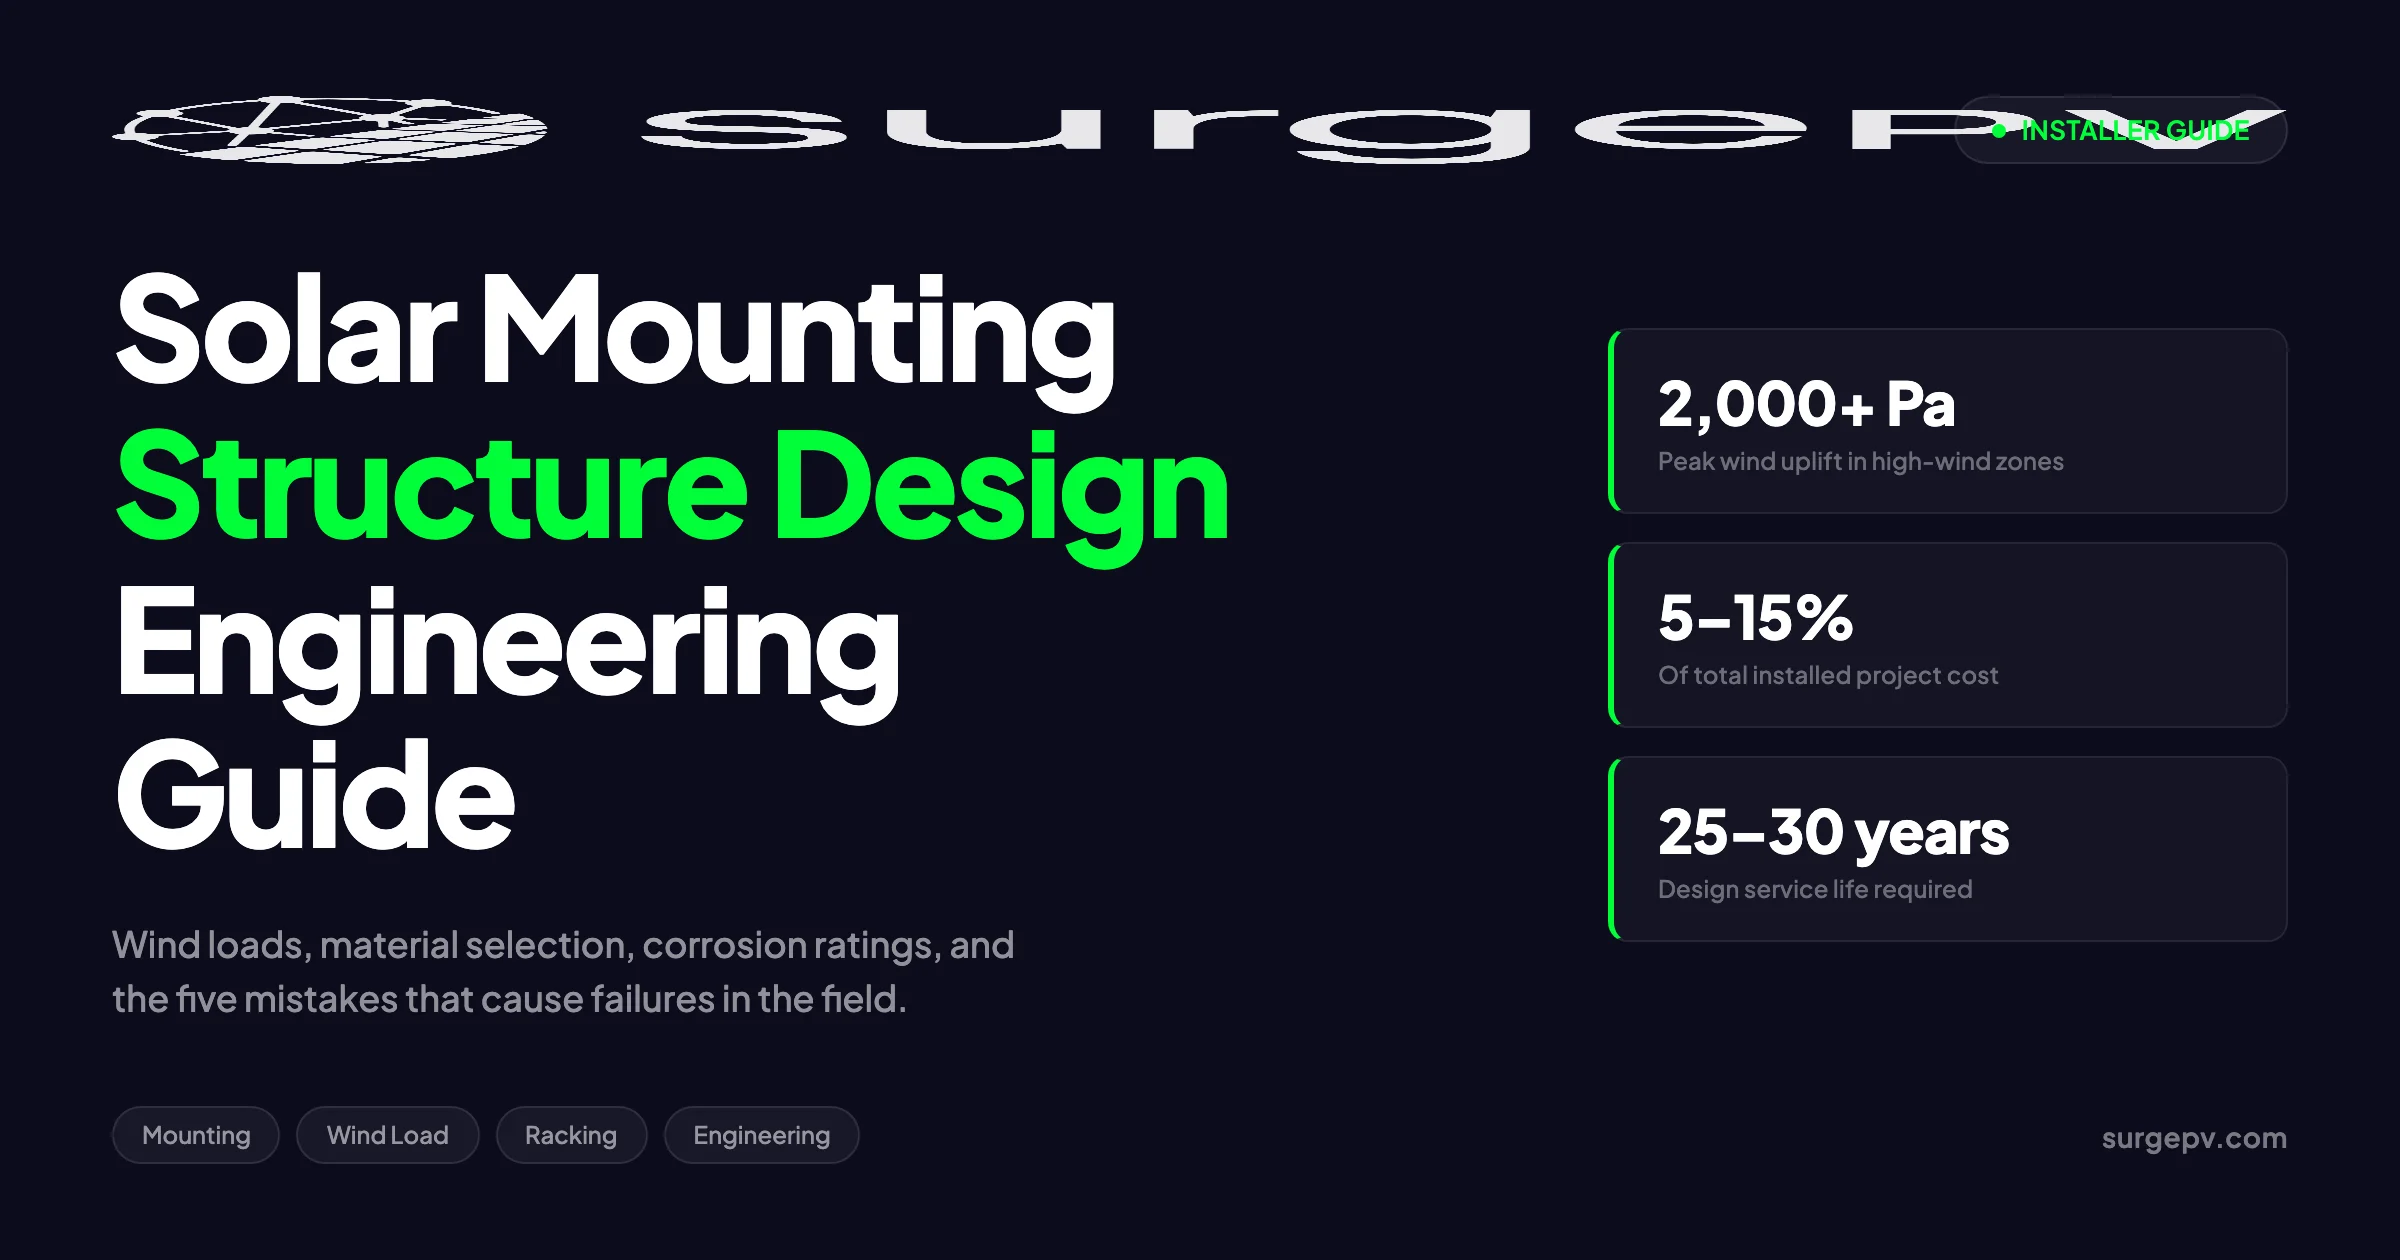
The mounting structure is the only thing between your panels and the ground. A well-designed racking system keeps a solar array safe for 25–30 years. A poorly designed one fails in the first storm, voids warranties, and creates liability that outlasts the project.
This guide is for installers who already know the difference between rail and rail-less systems. It covers the engineering decisions that separate a reliable structure from a risky one: load calculations, material selection, corrosion protection, and the mistakes we see most often in the field.
In this guide you will learn:
- How wind, snow, and seismic loads govern mounting structure design
- When to use aluminum versus galvanized steel
- How to read corrosion ratings for coastal and industrial sites
- The five design mistakes that cause most mounting failures
- A simple selection framework for roof, ground, and specialty systems
- What is changing in mounting technology in 2026
Quick Answer
Solar mounting structure design starts with site-specific load calculations. Wind uplift usually governs. Aluminum works best for rooftops and coastal sites; galvanized steel is better for ground mounts and heavy loads. Always verify clamps, fasteners, and foundations against local wind and snow loads, and always get structural sign-off for ballasted or high-wind installations.
Why Mounting Structure Design Matters More Than Most Installers Think
Panels and inverters get the attention, but the racking system determines whether the array survives its first decade. Mounting hardware is also one of the largest cost lines installers can optimize without sacrificing safety.
Racking accounts for 5–15% of total installed cost, according to NREL system cost benchmarks (2024). On a 500 kWp commercial rooftop, that is €25,000–€75,000. On a 10 MWp ground-mount project, it is €500,000–€1.5 million. Small design decisions compound quickly.
The structural risk is just as real. Under-designing leads to clamp slip, rail deflection, or foundation uplift. Over-designing wastes steel, aluminum, and labor. The goal is to hit the minimum safe design with confidence, not to add margin everywhere.
Field experience shows that most failures trace back to five causes:
- Generic wind load assumptions instead of site-specific calculations
- Edge and corner zones ignored on flat roofs
- Clamp-to-frame mismatch
- Corrosion protection underestimated for the environment
- No plan for maintenance access or expansion
Each of these is avoidable with a disciplined design workflow.
Load Types Every Mounting Structure Must Handle
A mounting structure transfers three categories of load from the panels to the roof or ground: dead load, wind load, and snow load. Seismic load matters in some regions. Maintenance loads matter on commercial systems.
Dead Load
Dead load is the static weight of the panels, rails, clamps, cables, and any ballast. It is the smallest load in most designs but still important for older roofs.
Typical values:
- Crystalline silicon panel: 10–13 kg/m²
- Aluminum rail system: 2–4 kg/m²
- Ballasted flat-roof system: 20–35 kg/m² total
For pitched roof rail systems, the added dead load is usually 10–15 kg/m². Most modern roofs can handle this. Older buildings, lightweight steel structures, and buildings with sagging members need a structural review.
Wind Load
Wind is the governing load for almost every mounting structure. Tilted panels act like airfoils. Wind passing underneath creates uplift that pulls clamps and fasteners upward. Wind pushing down on the top surface creates downward pressure. Wind parallel to the array creates drag.
The basic dynamic pressure formula is:
q = 0.5 × ρ × v²Where ρ is air density (about 1.2 kg/m³ at sea level) and v is the site-specific wind speed in m/s.
A design wind speed of 30 m/s gives a dynamic pressure of 540 Pa. At 45 m/s, pressure jumps to 1,215 Pa. At 60 m/s, it reaches 2,160 Pa. Wind pressure scales with the square of wind speed, so a 50% increase in wind speed more than doubles the load.
Pressure coefficients vary across the array:
| Array Zone | Typical Uplift Coefficient | Notes |
|---|---|---|
| Interior field | -1.0 to -1.5 | Base case for most clamps |
| Edge rows | -1.5 to -2.5 | Higher uplift due to airflow separation |
| Corner zones | -2.0 to -3.5 | Highest uplift; often governs fastener design |
| Leeward pressure | +0.5 to +1.0 | Pushes panels into the structure |
These coefficients come from wind tunnel studies and code provisions such as ASCE 7-22 Chapter 29, Eurocode EN 1991-1-4, and AS/NZS 1170.2. Never use a single generic coefficient for an entire array.
Snow Load
Snow adds mass to the structure. In Northern Europe, the Alps, and mountainous regions, snow loads can reach 0.5–2.5 kN/m². Flat and low-tilt panels accumulate snow. Steep panels shed it.
Design rules:
- Tilt above 30 degrees: snow sheds naturally in most cases
- Tilt below 15 degrees: design for full snow load
- Use snow guards on steep roofs above walkways
Snow load combines with wind load in code-mandated load combinations. Do not design for one without checking the other.
Seismic Load
Seismic design matters in zones II and III under Indian codes, California and the Pacific Northwest in the US, and many parts of Japan, Turkey, and Chile. Seismic forces act horizontally and can cause panels to slide or racks to overturn if friction and anchorage are insufficient.
Ballasted systems need special attention in seismic zones because inertia forces act on the mass of the ballast itself.
Regional Wind and Snow Design Standards
Every country uses its own code for wind and snow loads. The principles are the same, but the numbers and load combinations differ. Use the local standard for permitting.
| Region | Wind Standard | Snow Standard | Notes |
|---|---|---|---|
| United States | ASCE 7-22 | ASCE 7-22 | Chapter 29 covers solar arrays |
| Europe | EN 1991-1-4 | EN 1991-1-3 | National annexes modify base values |
| United Kingdom | BS EN 1991-1-4 | BS EN 1991-1-3 | Includes basic wind speed maps |
| Australia / NZ | AS/NZS 1170.2 | AS/NZS 1170.3 | Cyclone regions need special detailing |
| India | IS 875 Part 3 | IS 875 Part 4 | Basic wind speeds up to 180 km/h |
| Canada | NBCC 2020 | NBCC 2020 | Snow and rain load provisions |
The most common error in rooftop design is selecting the wrong terrain category. A building in open farmland sees higher wind than the same building in a dense urban area. A building on a hill sees more exposure than one in a valley. These factors are not optional adjustments; they are multipliers that can change the design wind speed by 20–40%.
Aluminum vs. Galvanized Steel: How to Choose
Material selection is the second major design decision after load analysis. The choice affects weight, corrosion resistance, strength, cost, and installation speed.
Aluminum
Aluminum 6005-T5 is the standard alloy for rooftop rails. It is lightweight, corrosion-resistant, and easy to handle on a roof.
Advantages:
- Does not rust in humid or coastal air
- About one-third the weight of steel
- No additional coating needed for most environments
- Compatible with anodized finishes for extra protection
Limitations:
- Lower strength than steel
- Higher cost per kilogram of load capacity
- Can gall when threaded directly against stainless steel without lubrication
Galvanized Steel
Hot-dip galvanized steel is the default for ground-mount structures, carports, and heavy-load applications.
Advantages:
- Higher strength for the same cross-section
- Lower cost per unit of capacity
- Better for long spans and heavy snow loads
Limitations:
- Heavier, increasing transport and labor costs
- Galvanizing can be damaged during cutting or welding
- Coastal and industrial atmospheres accelerate corrosion if zinc coating is thin
Material Selection by Application
| Application | Recommended Material | Why |
|---|---|---|
| Pitched roof rail | Aluminum 6005-T5 | Lightweight, corrosion-resistant, easy install |
| Flat roof ballast frame | Aluminum or steel | Aluminum for weight; steel for large spans |
| Ground-mount purlins | Galvanized steel | Strength and cost |
| Carport structure | Galvanized steel | Long spans and vehicle impact loads |
| Coastal rooftop | Aluminum or A4-316L stainless | Salt air corrosion resistance |
| Heavy snow zone | Galvanized steel | Higher load capacity |
Corrosion Protection Ratings
Corrosion protection is not just about material. It is about coating thickness, environment, and expected service life.
Hot-dip galvanizing is rated by zinc coating mass. Common ratings:
- Z275: 275 g/m² zinc per side total, suitable for mild inland environments
- Z350: 350 g/m², better for moderate industrial or humid environments
- Z600: 600 g/m², used for aggressive coastal or industrial sites
For aluminum, anodizing thickness matters. A 15–20 micron anodized layer gives good protection in most environments. Clear anodizing is common. Bronze or black anodizing adds UV stability.
In marine environments within 1–2 km of the sea, specify A4-316L stainless steel fasteners. Standard 304 stainless can pit in salt air. Never mix carbon steel fasteners with aluminum rails without isolation washers; galvanic corrosion will attack the aluminum.
A Practical Mounting Structure Selection Framework
Use this four-step framework on every project. It prevents the common mistake of defaulting to whatever the distributor has in stock.
Step 1: Define Site Constraints
Collect the data that governs design:
- Roof type, age, and structural drawings if available
- Ground conditions for geotechnical assessment
- Design wind speed and terrain category
- Design snow load
- Seismic zone
- Distance to coast or industrial sources
- Available area and obstacles
Step 2: Match the Mounting Category
| Site Condition | Recommended Approach |
|---|---|
| Pitched roof in good condition | Rail or rail-less roof mount |
| Flat roof with limited load capacity | Low-ballast or penetrating tilt system |
| Flat roof with good load capacity | Ballasted tilt-up system |
| Standing seam metal roof | Clamp-on rail system |
| Open land with good soil | Driven-pile ground mount |
| Rocky or contaminated ground | Ballasted ground mount or ground screws |
| Parking area | Carport structure |
| Water body | Floating platform |
Step 3: Size Components for Loads
Verify every component:
- Rail span between attachments
- Clamp slip resistance under uplift
- Fastener capacity in roof sheathing or steel purlins
- Foundation uplift and lateral capacity
- Ballast weight against overturning
Manufacturer datasheets give allowable loads. These are based on specific test conditions. If your panel height, tilt, or wind zone differs from the test setup, ask the manufacturer for project-specific calculations or run your own.
Step 4: Plan for Service Life
A solar array lasts 25–30 years. The mounting structure must last at least as long. Plan for:
- Access for cleaning and inspection
- Replacement of wearable parts such as tracker bearings
- Expansion without removing existing panels
- Cable management that does not rest on hot rails
Five Mounting Structure Mistakes That Cause Failures
These mistakes appear repeatedly in field inspections and failure reports. Avoiding them is the fastest way to improve project quality.
Mistake 1: Using Generic Wind Pressure Coefficients
A single pressure coefficient for the whole array ignores the fact that corner panels see 2–3 times more uplift than interior panels. Codes require zone-specific coefficients. Manufacturer datasheets often list only the interior value. Always ask for edge and corner data, or calculate it from the applicable standard.
Mistake 2: Ignoring Edge and Corner Amplification on Roofs
Flat roof arrays are especially vulnerable. Wind accelerates around the building edges and creates suction peaks in the first few rows. If the first row uses the same clamp spacing as the middle rows, it can lift in high wind. Reduce clamp spacing or use reinforced clamps in edge and corner zones.
Mistake 3: Selecting Hardware Based Only on Upfront Cost
The cheapest rail is not the cheapest project. Consider:
- Installation time per panel
- Number of roof penetrations
- Ballast transport and placement cost
- Warranty length and local support
- Cost of a structural engineer review if the system is not pre-engineered
A rail system that saves €0.02 per Wp on hardware can cost €0.05 per Wp more in labor.
Mistake 4: Mismatching Clamps to Panel Frames
Clamp depth must match frame thickness. Clamp width must match rail slot. Frame height varies from 30 mm to 50 mm. A clamp designed for a 35 mm frame will not grip a 45 mm frame correctly. Loose clamps slip under uplift. Over-tightened clamps deform frames and crack cells.
Always verify:
- Panel frame height
- Frame thickness
- Rail slot dimensions
- Manufacturer torque specification
Use a calibrated torque wrench. Hand-tight is not a specification.
Mistake 5: Underestimating Corrosion
Installers in inland climates often use standard hardware near the coast. Within five years, the fasteners rust, staining the roof and weakening the connection. In industrial areas, sulfur dioxide accelerates corrosion. In agricultural areas, ammonia from livestock buildings attacks zinc coatings.
Match the corrosion protection class to the environment, not to the lowest bid.
2026 Trends in Mounting Structure Technology
The mounting market is changing quickly. Three trends matter most for installers in 2026.
Lightweight Pre-Assembled Components
Manufacturers are shipping more pre-assembled rails, clamps, and tilt legs. The goal is to cut installation time and reduce on-site errors. Some systems claim 30–40% faster installation compared to traditional stick-built rails. For labor-cost markets, this is a meaningful saving.
Non-Penetrating and Low-Ballast Roof Systems
Older commercial roofs are a growing market. Owners want solar without risking roof integrity. Low-ballast and adhesive systems reduce or eliminate penetrations. They also reduce structural load, which matters for roofs built before 2000.
Smart Mounting with Embedded Sensors
A few manufacturers now offer mounting systems with built-in sensor points for structural health monitoring. These track bolt torque, rail strain, or foundation movement. The data feeds into O&M platforms. For large ground-mount projects, this can shift maintenance from scheduled to condition-based.
How Mounting Structure Design Affects System Performance
Mounting is not just a structural decision. It shapes energy yield, maintenance cost, and project bankability.
Tilt and Azimuth
The mounting structure fixes the panel tilt and azimuth. For fixed-tilt systems, the optimal tilt is usually close to the local latitude. Azimuth should face the equator: south in the northern hemisphere, north in the southern hemisphere.
A 10-degree tilt error can reduce annual yield by 2–4%. A 30-degree azimuth error can reduce yield by 5–10%. Solar design software models these effects before hardware is ordered.
Row Spacing and Self-Shading
Ground-mount and flat-roof tilt-up systems need enough row spacing to avoid self-shading. Tighter spacing fits more panels but reduces yield. The optimal spacing depends on latitude, tilt, and project economics. In high-cost markets, wider spacing often pays for itself through higher yield.
Bifacial Compatibility
Bifacial panels capture light reflected from the ground or roof surface. The mounting structure must leave the rear side open. Wide rails, cross-bracing in the wrong place, or panels too close to the roof can block rear-side light. Elevated rails and open geometries improve bifacial gain.
Field data from Hyderabad, India, measured bifacial gains up to 19.24% on fixed-tilt arrays with light-colored ground and tall mounting structures, according to a 2026 study in the International Journal of Science and Technology.
When to Involve a Structural Engineer
Not every residential roof needs a full structural calculation, but many do. When in doubt, get a sign-off.
Always involve a structural engineer for:
- Ballasted flat-roof systems
- Buildings older than 20 years
- Lightweight steel or timber roofs
- High-wind or cyclone regions
- Seismic zones
- Carports and canopies
- Ground-mount projects above 1 MWp
- Any project where the roof structure is unknown
The cost of a structural review is usually €500–€3,000 for residential and small commercial projects. For utility-scale projects, engineering is a standard line item. The cost of skipping it is a failed inspection, rework, or worse.
Cost Ranges by Mounting Type in 2026
Use these ranges for early budgeting. Local labor, transport, and code requirements move the numbers.
| Mounting Type | Hardware Cost (€/Wp) | Typical Install Time | Notes |
|---|---|---|---|
| Pitched roof rail | €0.08–€0.15 | 3–5 hrs per 10 panels | Most common residential option |
| Rail-less roof | €0.06–€0.12 | 2–4 hrs per 10 panels | Faster, fewer components |
| Flat roof ballasted | €0.10–€0.18 | 4–8 hrs per 30 kWp | No penetrations, higher dead load |
| Flat roof tilt-up | €0.12–€0.22 | 5–10 hrs per 30 kWp | Higher yield, needs spacing |
| Metal roof clamp | €0.08–€0.14 | 2–4 hrs per 10 panels | Zero penetrations on standing seam |
| Ground-mount driven pile | €0.12–€0.20 | 100–200 piles/day | Fastest utility-scale method |
| Ground-mount ballasted | €0.15–€0.25 | Slower than pile | For rocky or contaminated land |
| Single-axis tracker | +€0.06–€0.10 vs fixed | Annual maintenance | Best above 500 kWp in high-DNI areas |
| Carport | €0.30–€0.60 | Variable | Dual-purpose, 2–3x ground-mount cost |
These figures are structure-only. Add engineering, labor, ballast, transport, and margin for total installed cost.
Design Mounting Structures with Confidence
SurgePV models roof, ground, and carport layouts with automatic wind-zone awareness, row spacing optimization, and structural checks built into the design workflow.
Book a DemoNo commitment required · 20 minutes · Live project walkthrough
Conclusion
Solar mounting structure design is not a product selection exercise. It is a load-path problem. Wind uplift, snow load, and corrosion determine whether the array lasts 30 years or fails in the first major storm.
The best installers follow a simple discipline:
- Start with site-specific loads, not catalog values.
- Match the material to the environment and load.
- Verify every clamp, fastener, and foundation.
- Get structural sign-off when the project warrants it.
- Plan for maintenance and expansion from day one.
Get these five things right and the racking system becomes a quiet, reliable part of the project. Get them wrong and it becomes the most expensive lesson on the job.
Frequently Asked Questions
What is the most important load to design a solar mounting structure for?
Wind uplift is the governing load for most mounting structures, not the weight of the panels. Uplift forces on tilted panels can exceed 2,000 Pa in high-wind zones, which is why codes like ASCE 7-22 and Eurocode EN 1991-1-4 require site-specific wind calculations rather than generic values.
How do you calculate wind load on a solar mounting structure?
Start with the site-specific design wind speed, then calculate dynamic pressure using q = 0.5 × ρ × v². Apply pressure coefficients for uplift, downward pressure, and drag based on panel position in the array. Edge and corner zones experience 2–3 times more uplift than interior zones. Finally, verify fasteners, clamps, and foundations against the resulting forces.
When should you choose aluminum over galvanized steel for mounting structures?
Use aluminum for rooftop systems, coastal environments, and any project where weight matters. Use galvanized steel for ground-mount structures, heavy snow loads, and high-wind zones where strength governs. Aluminum resists corrosion better in humid or saline air; steel is stronger and cheaper per kilogram of capacity.
What are the most common mistakes when designing mounting structures?
The five most common mistakes are: using generic wind pressure coefficients without site analysis, ignoring edge and corner amplification on rooftops, selecting hardware based only on upfront cost, mismatching clamps to panel frame dimensions, and failing to plan for maintenance access and future expansion.
Do all solar mounting structures need a structural engineer’s sign-off?
Not all, but most jurisdictions require a licensed structural engineer to review roof-mount and ground-mount designs. Requirements are strictest for ballasted flat-roof systems, high-wind zones, seismic regions, and any installation on a building older than 20 years. Always check local building code before installation.
How much does a mounting structure add to total solar project cost?
Racking hardware typically accounts for 5–15% of total installed cost. Rooftop rail systems range from €0.06–€0.15 per Wp, flat-roof ballasted systems from €0.10–€0.22 per Wp, and ground-mount driven-pile systems from €0.12–€0.20 per Wp. Labor, ballast, and engineering add to the final figure.


