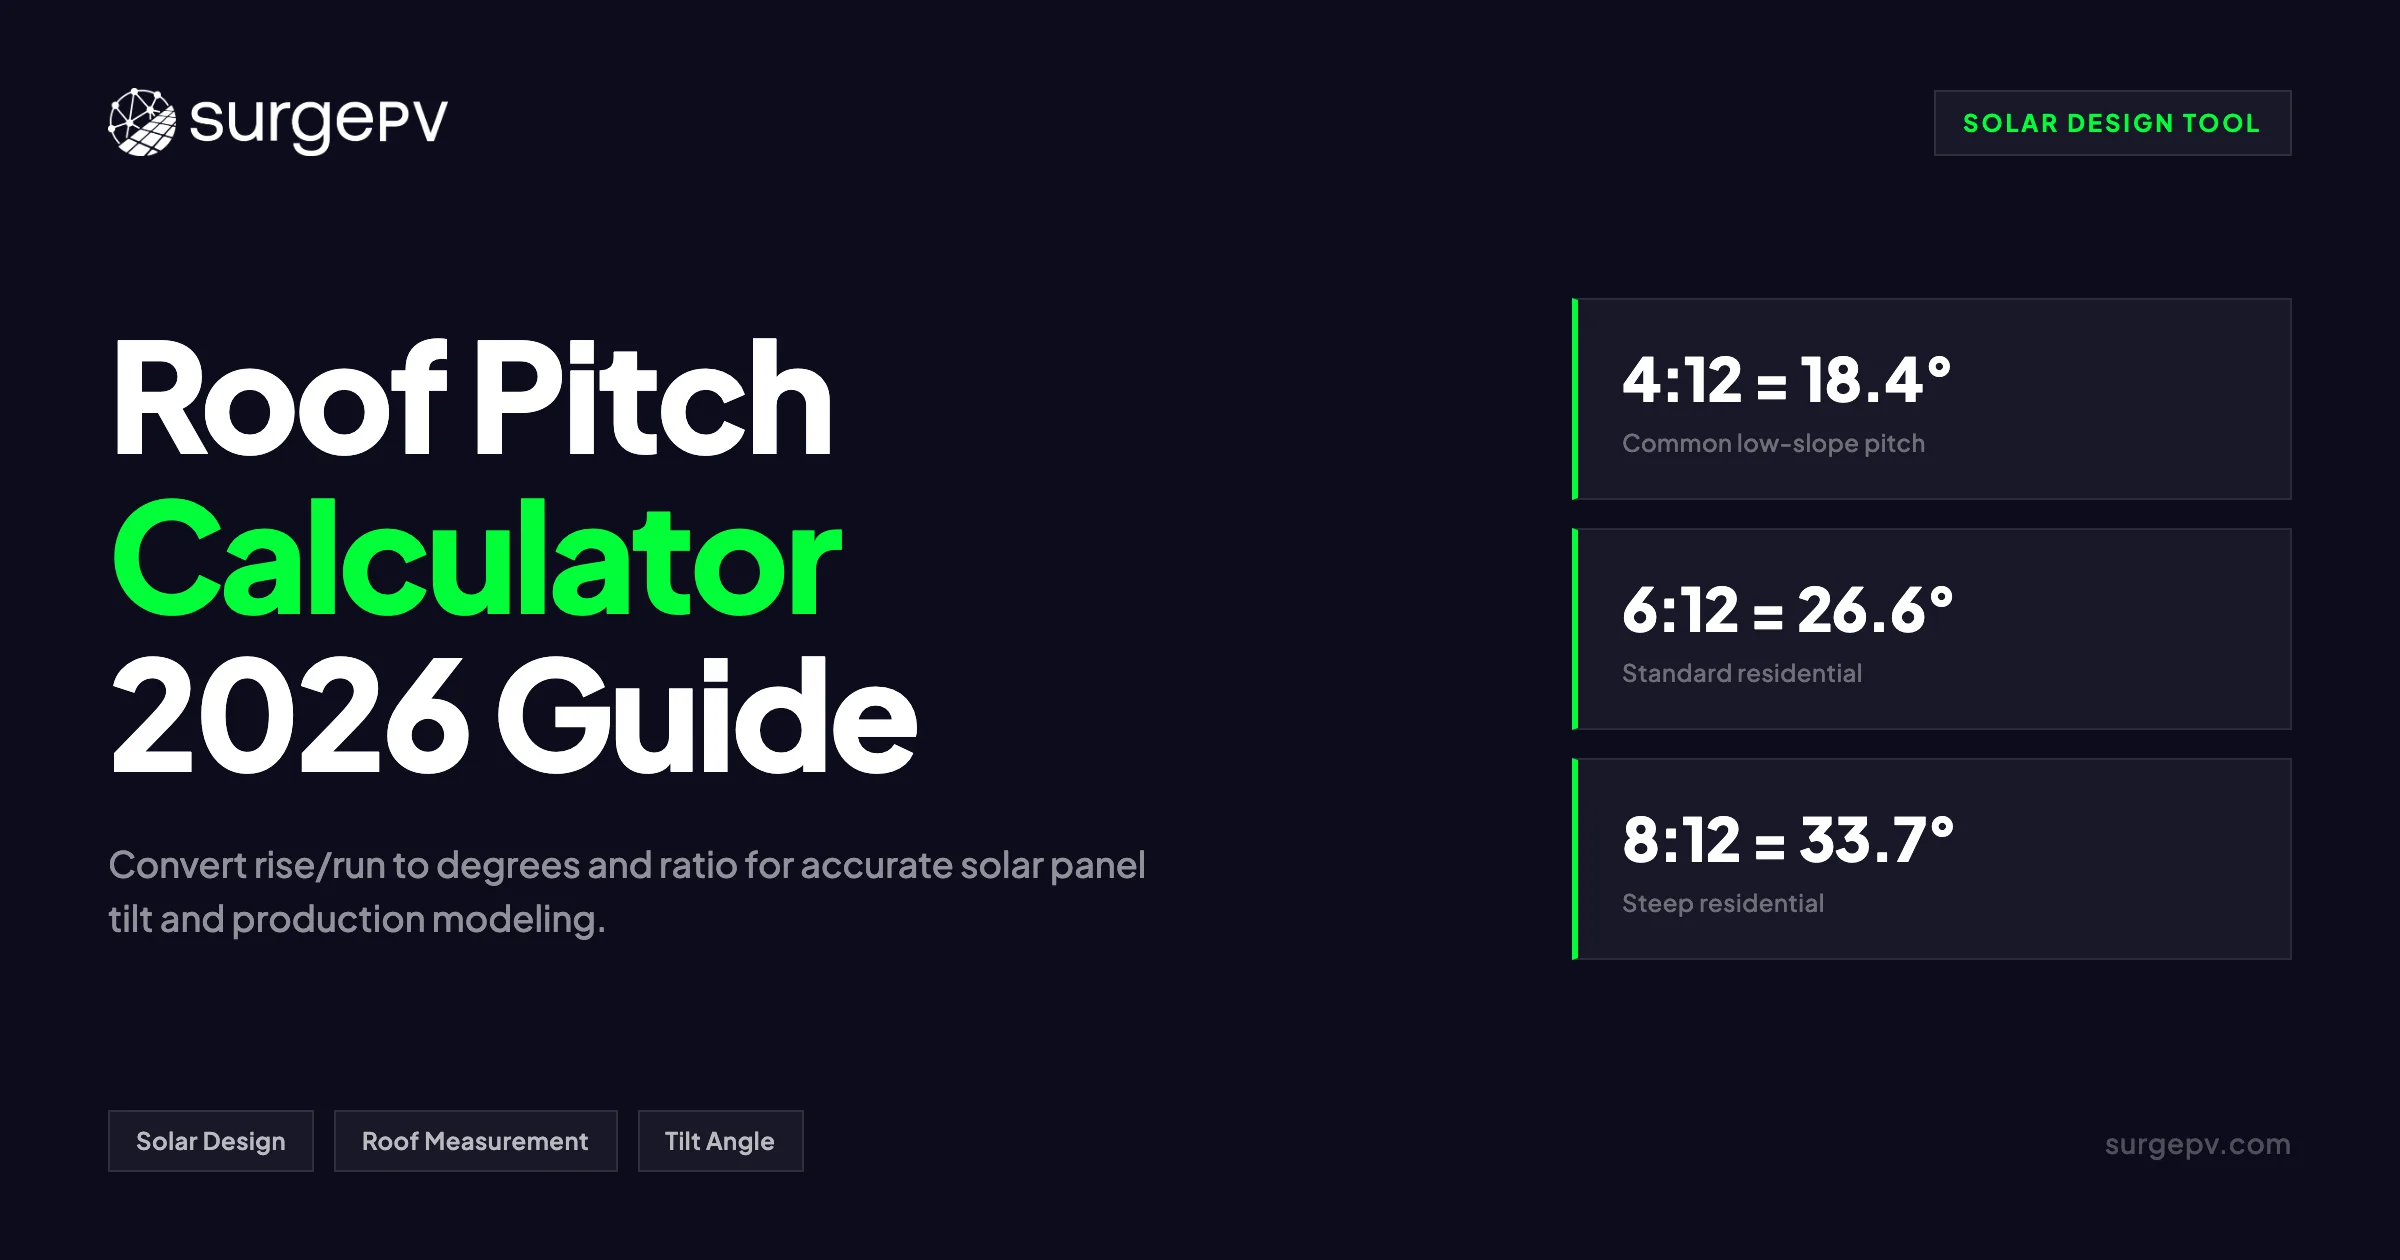
Roof pitch is one of the first inputs a solar designer needs, and one of the easiest to get wrong. A homeowner says “it’s a normal roof,” the salesperson writes down 30°, and the production estimate drifts 8% to 12% away from reality. A roof pitch calculator closes that gap by turning a quick measurement into a precise angle, ratio, and slope percentage in seconds.
This guide explains how to use a roof pitch calculator for solar work. You will learn the formulas, the most common residential and commercial pitches, how to convert between units, and how pitch feeds into yield models, racking choices, and code checks. We also link the math directly to solar design so you can move from measurement to accurate proposal faster.
In this guide:
- What roof pitch means and why it matters for solar
- The three formulas every roof pitch calculator uses
- A conversion table for common pitches
- How to measure roof pitch in the field or from a desk
- How pitch affects solar yield, racking, and wind loads
- When to use tilt-up racking instead of flush mounting
- A worked example from measurement to production estimate
Quick Answer
A roof pitch calculator converts rise and run into three useful outputs: the X:12 pitch ratio, the angle in degrees, and the slope percentage. For solar design, the degree value is what matters most because it becomes the panel tilt angle in yield models. A pitch within 15° of the site latitude usually captures 95% or more of optimal annual production.
What Roof Pitch Means for Solar Design
Roof pitch describes how steep a roof is. It is usually expressed as a ratio, such as 6:12, which means the roof rises 6 inches for every 12 inches of horizontal run. It can also be expressed in degrees or as a percentage slope.
For solar designers, roof pitch matters because it sets the tilt angle of flush-mounted panels. On a typical rooftop array, the panels follow the roof plane, so the panel tilt equals the roof pitch. That tilt angle goes straight into production models like NREL PVWatts and determines how much sunlight the array captures across the year.
Pitch also affects:
- Annual energy yield — steeper roofs capture more winter sun, flatter roofs capture more summer sun
- Row spacing — steep roofs need less spacing between rows; flat roofs need more
- Wind uplift loads — higher tilt increases wind pressure on panels and racking
- Soiling rates — roofs below 10° pitch hold dust and debris longer
- Installation labor — very steep roofs slow crews and raise safety costs
- Racking selection — low-slope roofs may need tilt-up kits; steep roofs may need specialty attachments
A roof pitch calculator is the fastest way to turn a site measurement into the numbers that drive these decisions.
Roof Pitch Calculator Formulas
Every roof pitch calculator uses the same three relationships. You only need two inputs: rise and run.
1. Pitch ratio (X:12)
This is the standard roofing format. It answers the question: how many inches does the roof rise for every 12 inches of horizontal run?
Pitch Ratio = (Rise ÷ Run) × 12Example: A roof rises 7 inches over a 12-inch run.
(7 ÷ 12) × 12 = 7:12 pitch2. Pitch in degrees
Degrees are what solar production software expects. The formula uses the arctangent of rise over run.
Pitch (degrees) = arctan(Rise ÷ Run)Example: A 6:12 pitch.
arctan(6 ÷ 12) = 26.57°3. Slope percentage
Slope percentage is useful for civil and structural work. It is rise divided by run, multiplied by 100.
Slope (%) = (Rise ÷ Run) × 100Example: A 6:12 pitch.
(6 ÷ 12) × 100 = 50% slopePro Tip
Most solar design tools accept tilt angle in degrees. Keep a pitch-to-degrees table on your phone or bookmark the SurgePV roof pitch calculator so you can convert on site without doing trigonometry by hand.
Common Roof Pitches and Conversions
The table below covers the pitches you will see most often in residential and commercial solar work.
| Pitch (X:12) | Degrees | Slope (%) | Common roof type | Solar notes |
|---|---|---|---|---|
| 0:12 | 0° | 0% | Flat commercial | Requires tilted racking; high soiling risk |
| 1:12 | 4.76° | 8.33% | Low-slope industrial | Often needs membrane-safe ballast |
| 2:12 | 9.46° | 16.67% | Low-slope residential | Minimum for some metal roofs |
| 3:12 | 14.04° | 25% | Minimum for asphalt shingles | Drainage improves; solar viable |
| 4:12 | 18.43° | 33.33% | Ranch, common U.S. home | Good for solar in southern states |
| 5:12 | 22.62° | 41.67% | Standard residential | Near-optimal for 25° to 35° latitude |
| 6:12 | 26.57° | 50% | Standard residential | Near-optimal for 30° to 40° latitude |
| 7:12 | 30.26° | 58.33% | Steep residential | Good for mid-latitude solar |
| 8:12 | 33.69° | 66.67% | Steep residential | Near-optimal for 35° to 45° latitude |
| 9:12 | 36.87° | 75% | Cape Cod, Tudor | Higher labor cost, strong winter production |
| 10:12 | 39.81° | 83.33% | Very steep residential | Wind uplift becomes significant |
| 12:12 | 45° | 100% | Steep gable | Specialty racking often required |
| 16:12 | 53.13° | 133.33% | Mansard, Victorian | Very high labor and structural loads |
| 21:12 | 60.26° | 175% | A-frame | Rare; extreme installation conditions |
Most U.S. residential solar installations sit between 4:12 and 8:12. That range happens to overlap well with the latitude-optimal tilt for much of the contiguous United States, which is why rooftop solar works so well without tilt-up brackets in most cases.
How to Measure Roof Pitch
You can measure roof pitch from the ground, from the attic, on the roof, or from aerial imagery. Each method has a trade-off between speed, accuracy, and safety.
Method 1: Smartphone inclinometer app
Place the edge of the phone along the roof plane or a rafter. Read the angle directly. Accuracy is typically ±1° to ±2° if the phone is held flush.
Best for: Quick field checks, sales visits, verification after aerial data.
Method 2: Measure from the attic
Use a level and tape measure inside the attic. Hold a 12-inch level horizontally against a rafter, then measure the vertical distance from the level to the rafter at the 12-inch mark.
Best for: Steep roofs where walking the surface is unsafe.
Method 3: Aerial imagery and roof scanners
Platforms like EagleView, Nearmap, and Google Earth provide pitch values derived from stereo or LiDAR data. Many solar design tools import this automatically. Accuracy is usually ±0.5° to ±1°.
Best for: Remote design, pre-qualification, and large commercial sites.
Method 4: Direct rise-over-run measurement
On the roof or in the attic, measure the vertical rise over a known horizontal run. A 12-inch run is standard because it maps directly to the X:12 ratio.
Best for: Confirming suspicious aerial data or unusual roof geometries.
Key Takeaway
Always record pitch in both X:12 and degrees. Roofers and contractors think in ratios. Solar production models think in degrees. Having both avoids miscommunication and protects your production guarantee.
How Roof Pitch Affects Solar Yield
The relationship between roof pitch and solar output is straightforward in principle: the closer the panel tilt is to the site latitude, the better the annual production. In practice, the curve is forgiving.
Latitude rule of thumb
A good starting point is to set panel tilt equal to latitude. For example:
- Miami, FL (25.8°N): optimal tilt around 25°
- Los Angeles, CA (34.1°N): optimal tilt around 30° to 34°
- Chicago, IL (41.9°N): optimal tilt around 40°
- Seattle, WA (47.6°N): optimal tilt around 45°
Roofs within 15° of these targets usually deliver above 95% of optimal annual yield. That is why a 6:12 roof in Chicago or an 8:12 roof in Seattle can perform almost as well as a custom-tilt ground mount.
Yield penalties by pitch
The table below shows approximate annual yield relative to the latitude-optimal tilt for a south-facing array. Values are based on typical PVWatts modeling for mid-latitude sites.
| Roof pitch | Approximate tilt | Yield vs. optimal |
|---|---|---|
| 0:12 | 0° | 82% to 88% |
| 2:12 | 9.5° | 90% to 94% |
| 4:12 | 18.4° | 96% to 98% |
| 6:12 | 26.6° | 98% to 100% |
| 8:12 | 33.7° | 97% to 99% |
| 10:12 | 39.8° | 95% to 98% |
| 12:12 | 45° | 92% to 96% |
These numbers assume a fixed flush-mount array with no shading. Actual results vary with azimuth, local weather, and soiling.
Soiling on low-pitch roofs
Roofs below 10° pitch hold dust, pollen, and debris longer than steeper roofs. In dry climates, this can add 3% to 8% annual production loss on top of the geometric penalty. In rainy climates, natural washing reduces the effect. If you are designing on a low-slope roof, add a soiling adjustment to the production model.
Seasonal trade-offs
A steep roof produces more in winter and less in summer. A flat roof produces more in summer and less in winter. For net-metered residential customers, annual production usually matters most. For off-grid or time-of-use customers, seasonal matching may matter more than annual yield.
Racking and Structural Considerations
Pitch does not only affect energy. It also drives racking selection, wind loads, and installation cost.
Flush mounting on pitched roofs
Most residential systems use rail-based racking attached directly to the roof. The panels follow the roof plane. This is the cheapest and simplest approach when the pitch is reasonable, typically 4:12 to 10:12.
Tilt-up racking on flat or low-slope roofs
When the roof pitch is below 4°, installers usually add tilt frames or ballasted racking to achieve 10° to 15° panel tilt. This recovers much of the lost yield but adds cost, weight, and wind exposure.
Steep roof challenges
Above 45° pitch, installation labor increases and racking must handle higher gravity and wind loads. Walk boards, harness anchors, and specialty flashing become necessary. ASCE 7-22 wind pressure coefficients rise with tilt, especially on exposed ridges.
| Pitch range | Typical approach | Relative racking cost | Notes |
|---|---|---|---|
| 0° to 10° | Ballasted or attached tilt-up | High | Adds 10° to 15° tilt; check structural load |
| 10° to 30° | Flush-mount rail | Low | Optimal for most U.S. sites |
| 30° to 45° | Flush-mount rail | Low to moderate | Good production; manageable wind loads |
| 45° to 60° | Flush-mount with extra attachments | Moderate to high | Slower labor, higher uplift |
| Above 60° | Custom engineering | High | Rare for solar; evaluate case by case |
Worked Example: From Measurement to Production Estimate
Here is how a solar designer uses a roof pitch calculator in practice.
Site: A home in Denver, Colorado (39.7°N latitude)
Measurement: The designer holds a 12-inch level against the roof and measures a 7-inch vertical rise.
Step 1 — Calculate pitch ratio
(7 ÷ 12) × 12 = 7:12Step 2 — Calculate pitch in degrees
arctan(7 ÷ 12) = 30.26°Step 3 — Compare to latitude-optimal tilt
Denver’s latitude is 39.7°. A 30.3° tilt is about 9° below the latitude value. Based on typical yield curves, this roof should deliver roughly 98% to 99% of optimal annual production for a south-facing array.
Step 4 — Enter into production software
The designer enters 30.3° as the tilt angle in the solar design software. Because the roof faces south and has no shading, no tilt-up brackets are needed. The flush-mount racking is standard.
Step 5 — Communicate to the customer
The proposal states the roof pitch as 7:12 (30.3°) and explains that the system is expected to perform within 1% to 2% of the optimal tilt for the location. This sets realistic expectations and supports the production estimate.
Roof Pitch Calculators in Solar Software
Manual calculation is fine for one roof, but solar companies need speed and consistency. Modern solar design software automates roof pitch detection from aerial imagery and feeds the result directly into yield simulations.
Key capabilities to look for:
- Aerial roof detection that extracts pitch, azimuth, and usable area from satellite or drone imagery
- 3D roof modeling that lets you verify pitch against oblique views
- Automatic tilt input into production and shading models
- Shadow analysis that accounts for roof geometry and nearby obstructions
- Proposal integration that shows pitch and tilt assumptions to the customer
A tool that combines roof measurement with shadow analysis and financial modeling can cut proposal time from hours to minutes. For teams that want to see this in action, book a SurgePV demo.
Design faster with automatic roof measurements
SurgePV detects roof pitch, azimuth, and usable area from aerial imagery, then runs production and shading simulations in one workflow.
Book a DemoNo commitment required · 20 minutes · Live project walkthrough
Common Roof Pitch Mistakes in Solar Design
Even experienced designers make these errors. A roof pitch calculator helps prevent most of them.
1. Confusing pitch and tilt
Pitch is the roof slope. Tilt is the panel angle relative to horizontal. On a flush mount they are equal, but on a tilt-up rack they are not. Entering the wrong value in production software is a common source of inaccurate yield estimates.
2. Using a single pitch for a complex roof
Hips, valleys, dormers, and mixed roof planes can have different pitches. Averaging them into one number may understate or overstate production. Model each plane separately when possible.
3. Ignoring low-pitch soiling
A 5° roof in a dusty climate can lose more production than a 15° roof even if the geometric yield penalty looks small. Add a soiling derate for pitches below 10°.
4. Overlooking wind uplift on steep roofs
Steep roofs look good for winter production, but wind loads increase with tilt. Make sure the racking engineer checks ASCE 7-22 pressures for the actual tilt angle.
5. Trusting aerial data without verification
Aerial pitch values are usually accurate, but obstructions, snow, or poor image quality can cause errors. Verify with a phone inclinometer or attic measurement before finalizing the design.
When to Use a Roof Pitch Calculator vs. a Full Design Tool
A standalone roof pitch calculator is perfect for quick conversions and field checks. It answers questions like:
- What is this roof pitch in degrees?
- Is this roof within the optimal tilt range?
- How do I convert the roofer’s 6:12 ratio for my solar software?
A full solar design platform is the next step when you need to:
- Import roof geometry from aerial imagery
- Run hourly production simulations
- Model shading from trees, chimneys, and neighboring buildings
- Generate customer-facing proposals with yield and financial projections
- Export permit-ready plans
For most installers, the workflow is: measure pitch with a calculator, verify in design software, and document in the proposal.
Conclusion
Roof pitch is a small input with a large impact. A roof pitch calculator turns a simple rise-and-run measurement into the degree value that drives solar production models, racking choices, and customer expectations.
Key takeaways:
- Use rise ÷ run to get the X:12 ratio, and arctan(rise ÷ run) to get degrees.
- Most U.S. residential roofs fall between 4:12 and 8:12, which is close to latitude-optimal for strong production.
- Roofs within 15° of latitude typically deliver 95% or more of optimal annual yield.
- Low-pitch roofs need soiling adjustments and often tilt-up racking.
- Steep roofs increase wind uplift and labor cost but can perform well at high latitudes.
- Always verify aerial pitch data with a field measurement before guaranteeing production.
For quick conversions on site, use the free SurgePV roof pitch calculator. For full designs that connect pitch to production, shading, and proposals, explore solar design software built for installers.
Frequently Asked Questions
How do I calculate roof pitch from rise and run?
Divide the rise by the run, then multiply by 12 to get the X:12 ratio. For example, a 6-inch rise over 12 inches of run is a 6:12 pitch. To convert to degrees, use arctan(rise ÷ run). A 6:12 pitch equals arctan(6 ÷ 12) = 26.57°.
What is a 4:12 roof pitch in degrees?
A 4:12 roof pitch is 18.43°. Use the formula degrees = arctan(4 ÷ 12). This is a common low-slope residential pitch and works well for solar in many U.S. climates.
How does roof pitch affect solar panel output?
Roof pitch changes the tilt angle of flush-mounted panels, which affects annual yield. A pitch within 15° of the site latitude usually delivers above 95% of optimal output. Flatter roofs below 10° lose more energy to soiling and suboptimal sun angles, while very steep roofs above 50° increase wind uplift and racking costs.
What roof pitch is too steep for solar panels?
There is no universal cutoff, but pitches above 45° to 50° make installation slower and more expensive. Wind loads rise sharply under ASCE 7-22 above 45° tilt, and racking costs can increase 15% to 25%. Panels can still produce well on steep roofs, especially at high latitudes, but labor and structural costs must be weighed.
Can I install solar panels on a flat roof?
Yes. Flat roofs use ballasted racking or attached tilt frames to set the panel tilt, typically 10° to 15°. A bare flat roof would lose 12% to 18% annual yield versus an optimal tilt at most latitudes, so tilted racking is standard for commercial flat-roof systems.
What is the best roof pitch for solar panels?
The best roof pitch for solar panels is one that matches the site latitude. In the contiguous United States, that means roughly 25° to 40°. Most U.S. residential roofs fall between 4:12 and 8:12 (18.4° to 33.7°), which is close enough to optimal for strong production.